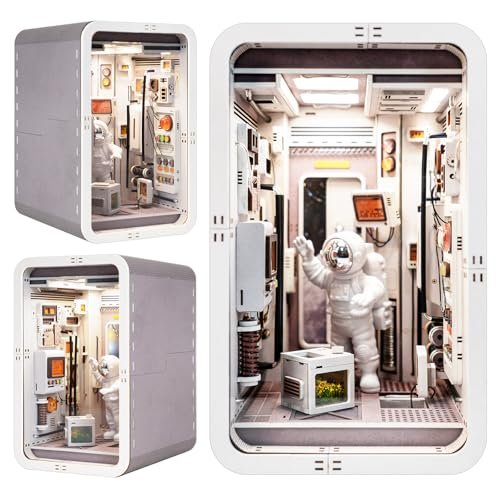
My Space Capsule Build
Space Capsule by Joohour
3
Steps
1.7
Avg Frustration
8h
Total Time
Apr 22, 2026
Completed
1
Unboxing thru step 06-3😊4h
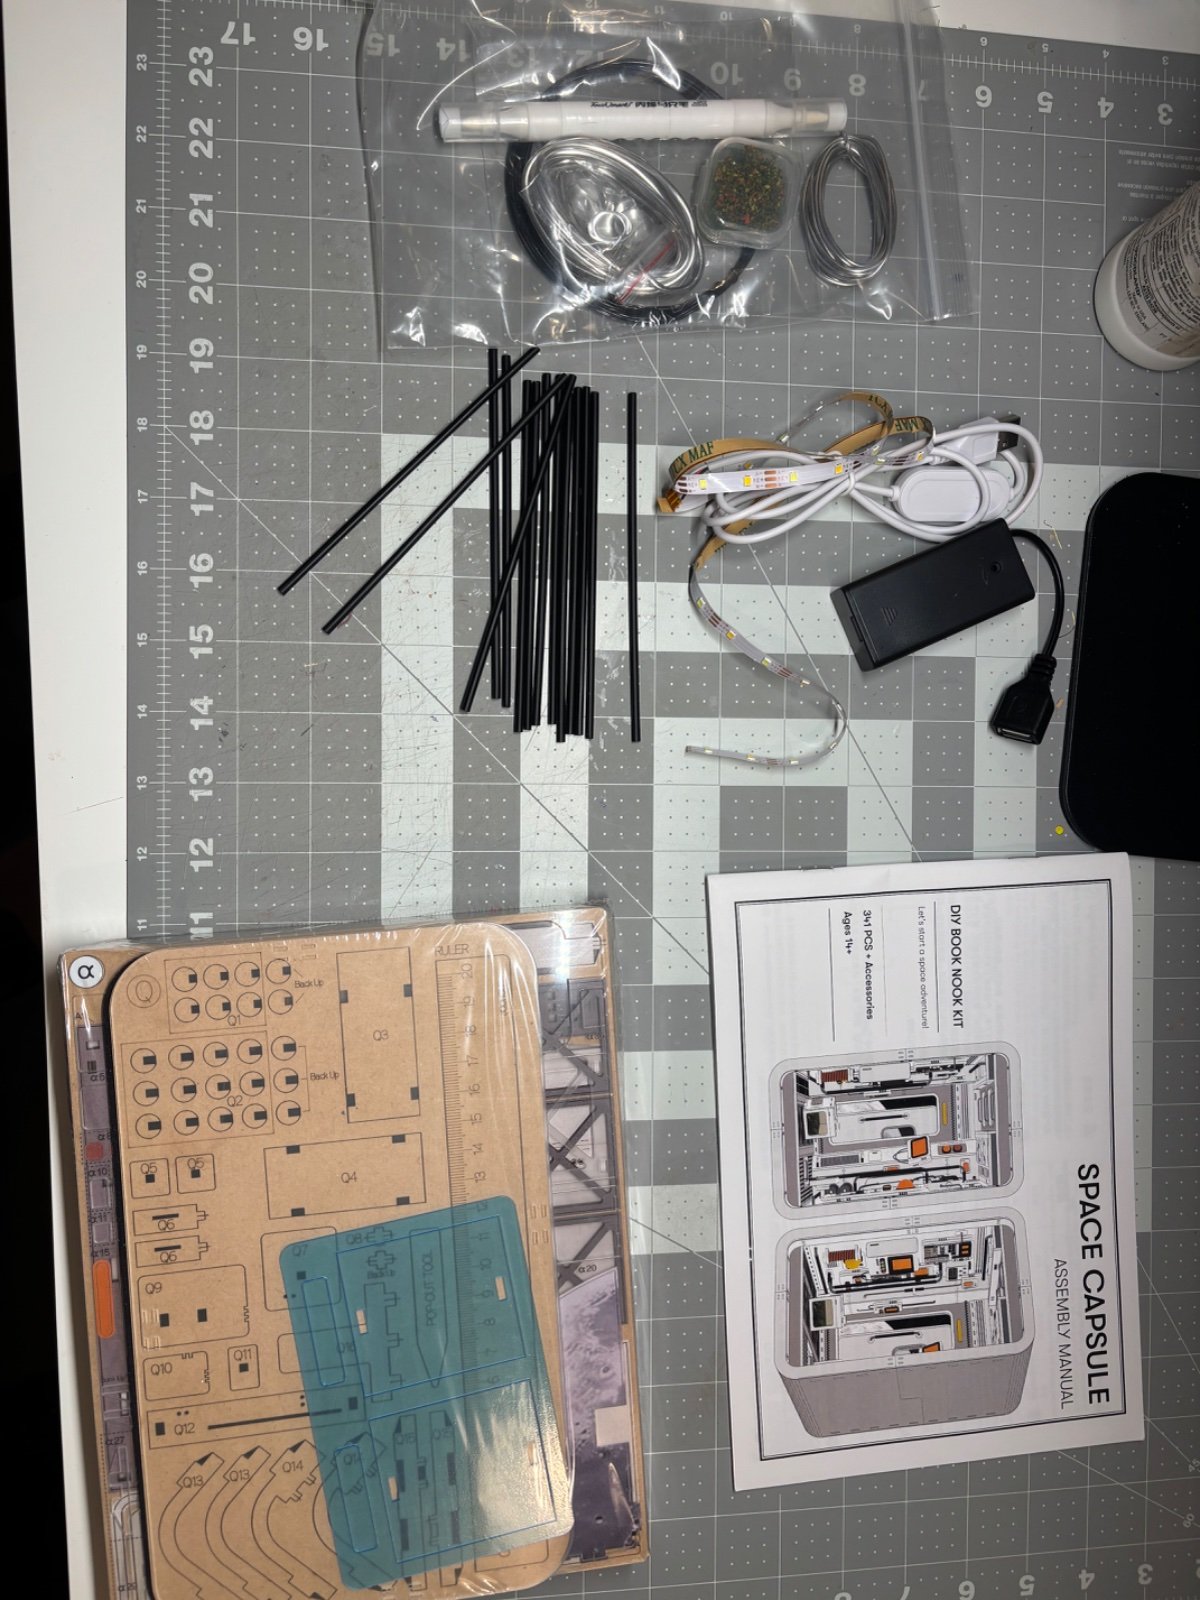

Unboxing and throughout building, an annoying little issue is that the wood pieces are barely hanging into the sprue and when you even think of touching each sheet of parts, they start falling out. Be ready to catch them and keep them organized since you will have lots of loose pieces with no numbers. But overall this is not a big deal.
The QR codes in first page for digital manual ends in a dead link or a code for three other book nooks, not a major deal but a nice feature which didn’t work. Bummer.
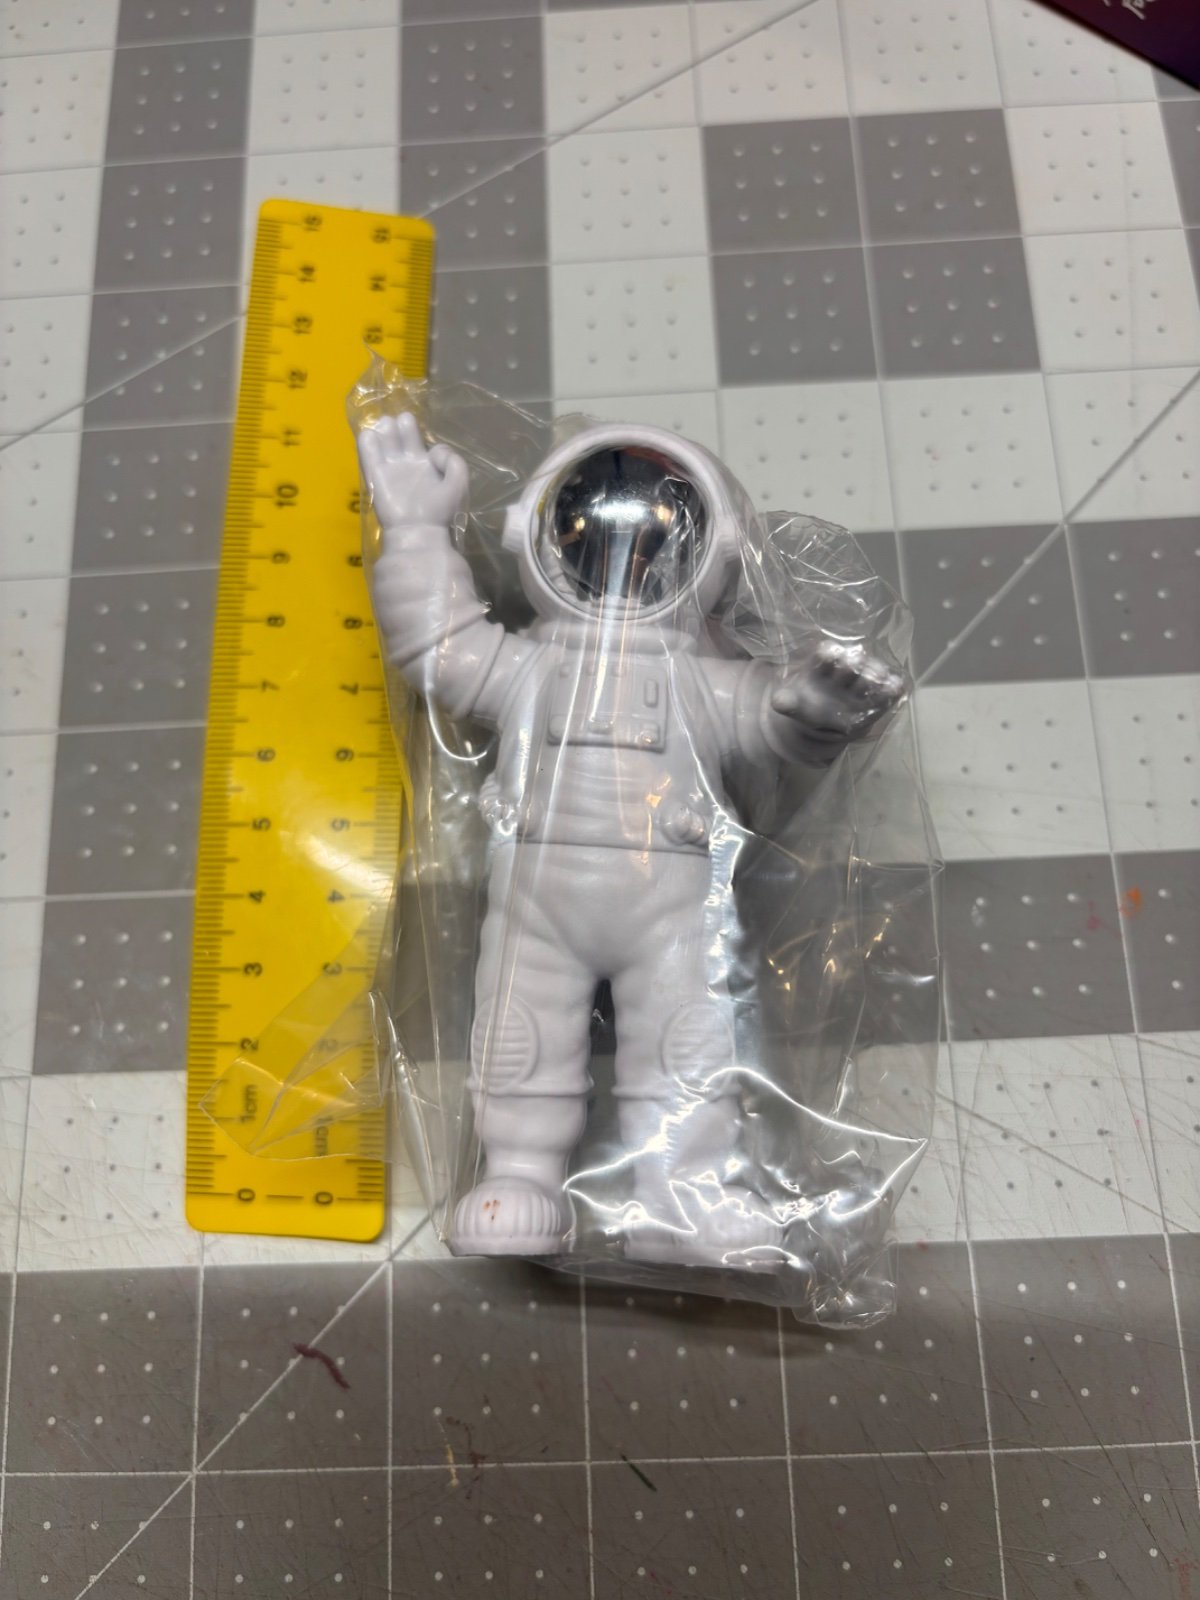
The little astronaut is cool, if a little cartoony. I will probably paint more color detail into the suit to give it some POP and realism.
The instructions are very different than most. They draw a lovely “invisible” view of the whole larger part you are working on, with the piece you add depicted in full color. Cool cad/cam graphics but takes a little getting used to.
Adding the triangular grid in the floor, I messed up. I was supposed to pop out a number of small triangles and then re-glue them into the grew frame that you see. I missed that and kept the triangles in place in the floor. Realized after everything was glued and decided tearing it apart would risk the clean finish I want so I left it.
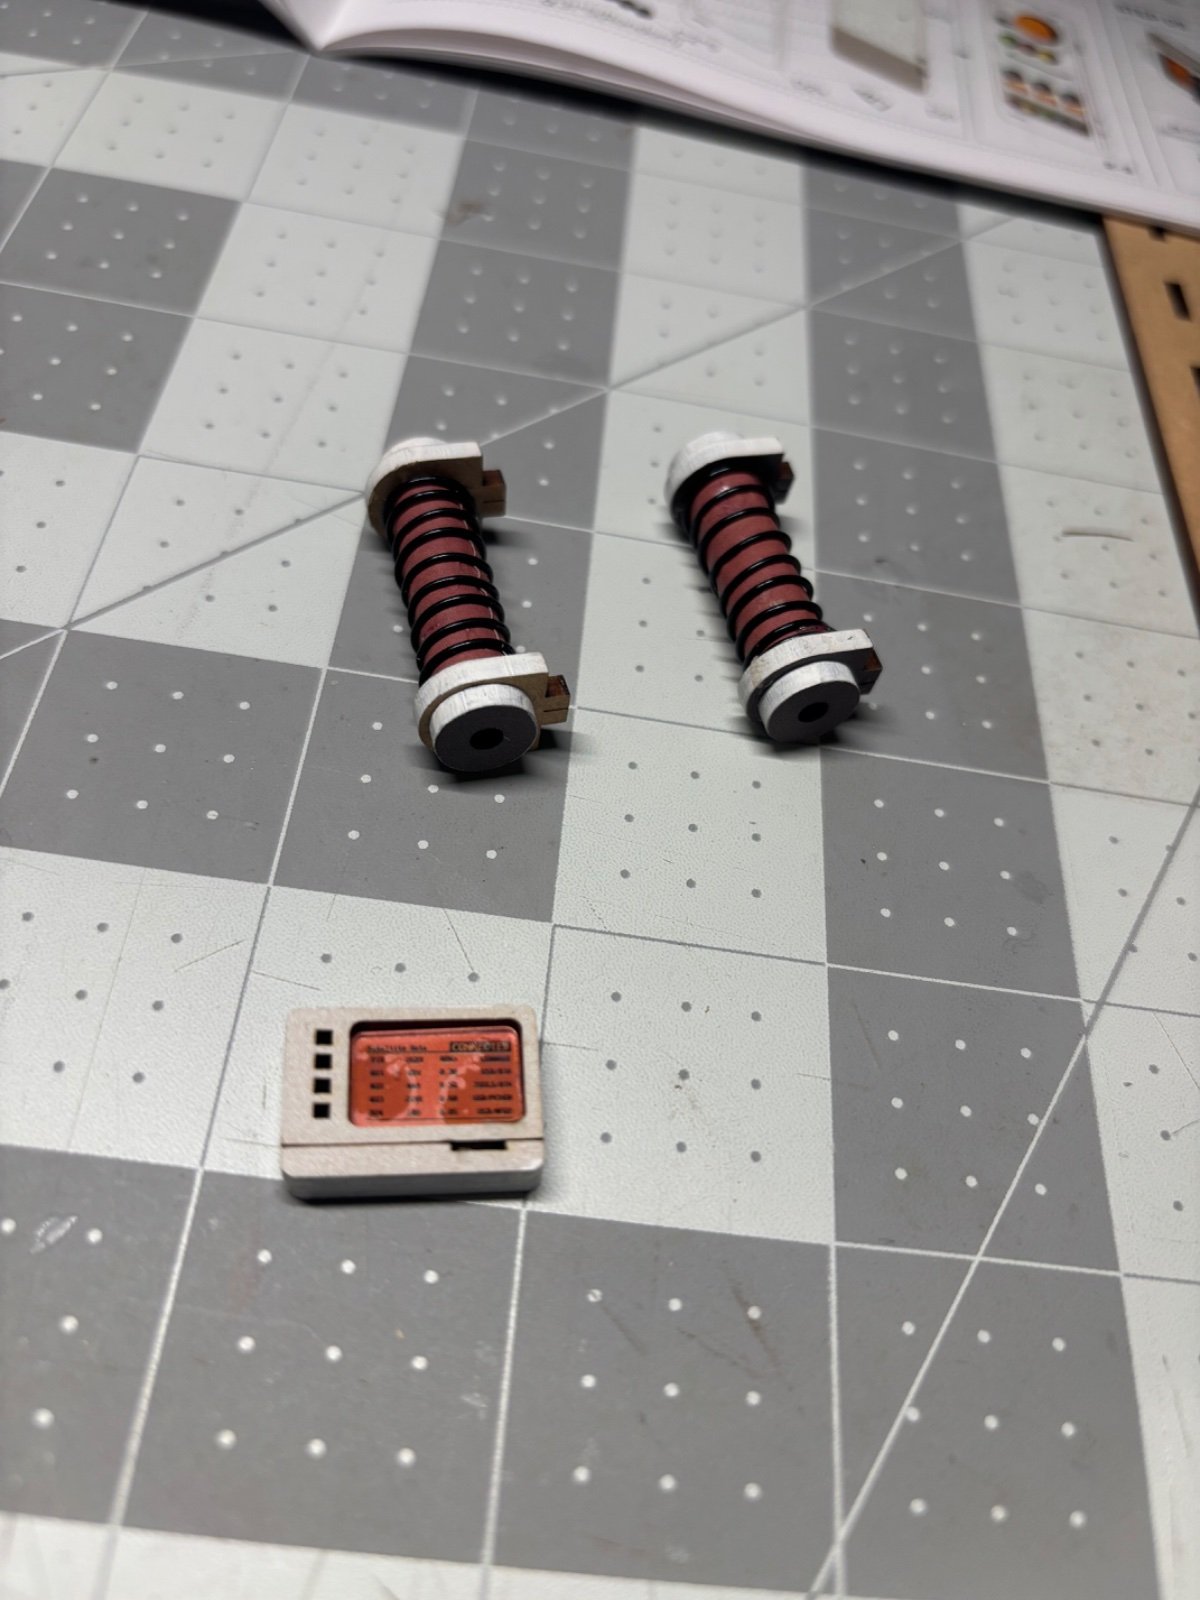
The parts which involve wrapping wires around a cylinder which you create is a bit overly fiddly. In hindsight I would recommend finding a small solid wooden dowel and replacing the assembly depicted in step xxxx. It will be easier to wrap with wire and won’t distort or compress making the finish much cleaner.
The white acrylic paint pen they give you is helpful, if not the best pen out there. I prefer the set I have, so I’m using it. A preference thing, but just know you will use it A LOT on this kit.
The wood is very robust, no flimsy parts anywhere. I feel like this thing will be very solid when complete.
2
Step 6 thru 11🙂2h
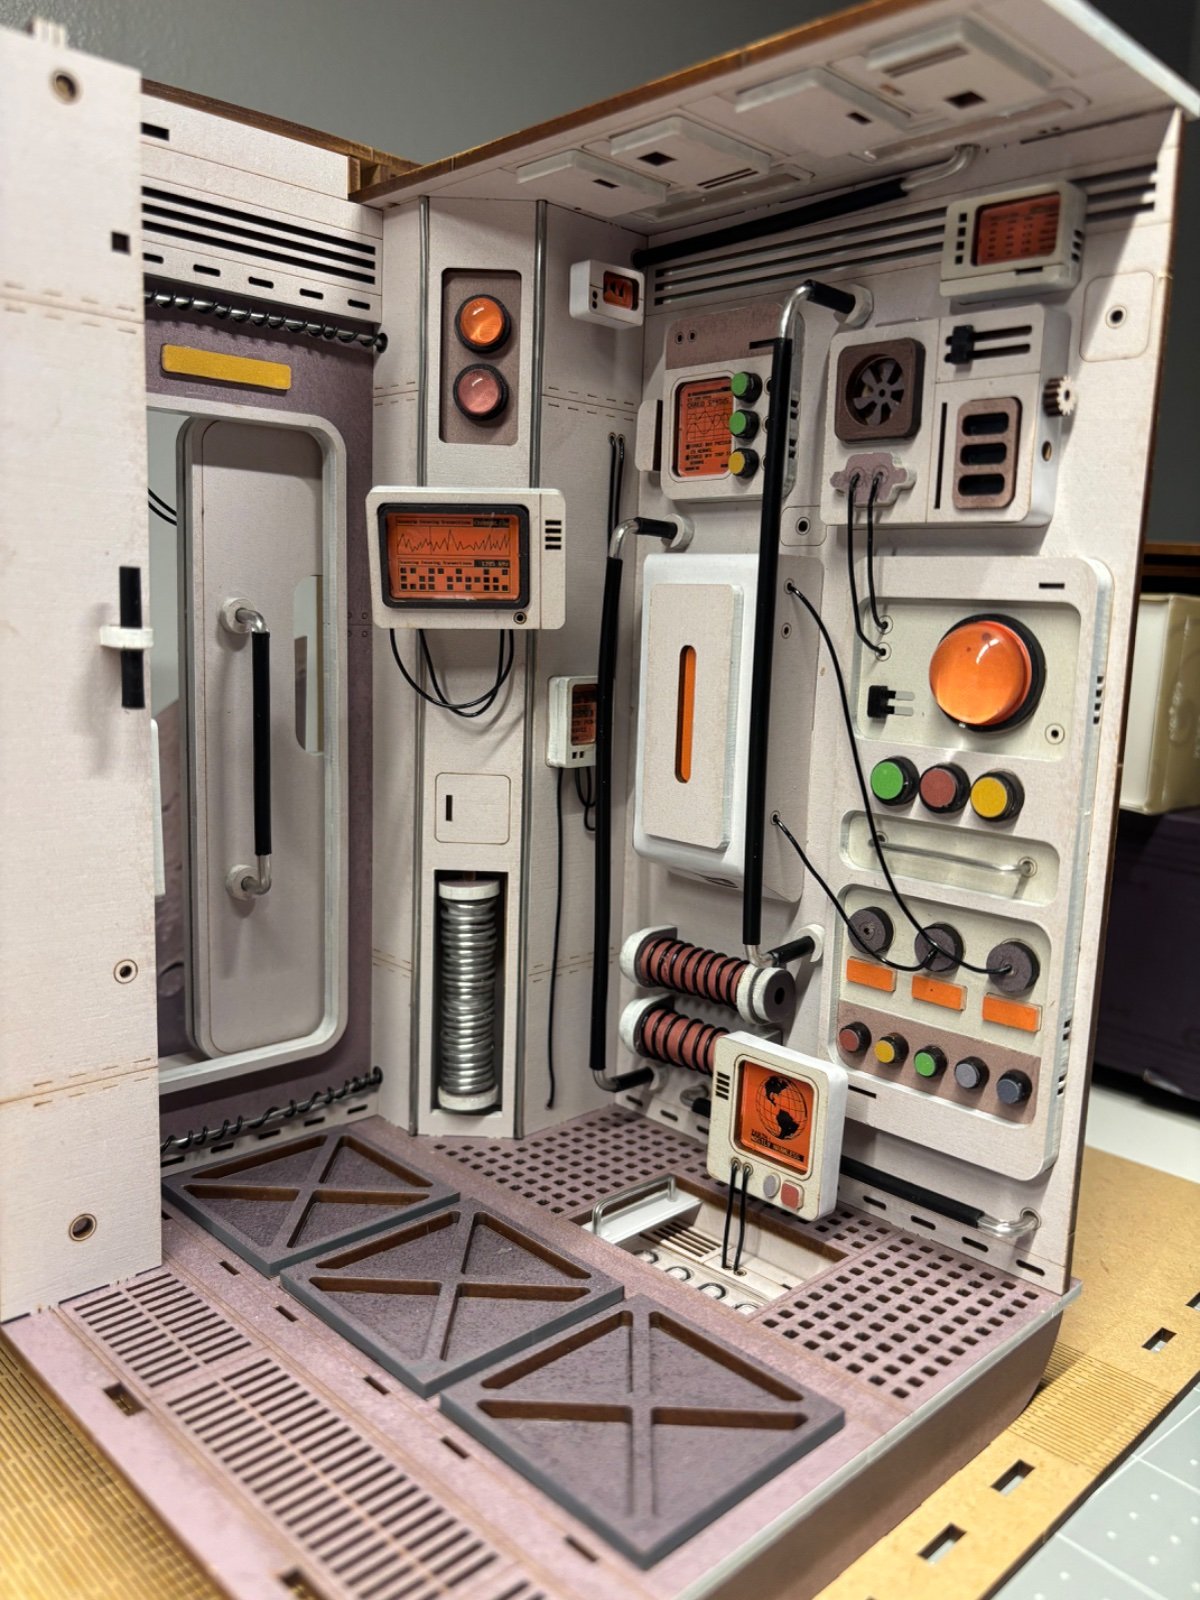
So there is a lot of use of 3 different types of wire. It makes for a pretty good look, but some things I’ve learned as I went along.
1. straightening wire-I found a life saver for taking crooked bent pieces of wire and getting them back to perfectly straight. I found a silicone ruler. Place the wire on your mat and then roll it back and forth with the ruler. A few spins and it is back perfectly straight. I knew about this technique, but always tried to do it with a plastic ruler and it won’t work. You need a soft and grippy but firm substance. A ruler that has a thin layer of cork might work too, but it could also distort.
2. Lube the straws- there is a lot of use of a thicker, coated wire that slides into a plastic straw to give the effect of a non-slip handle. It looks pretty good when done but it can be very challenging to slide on. I found a light wipe of non-stick cooking spray on the wire helped. You can use anything really,
3. When gluing panels together, if there are matching holes for wires to pass through, use a spare piece of wire to line them up when gluing before everything dries. A slight misalignment means the wire won’t pass through and you may have to get creative with securing the final piece.
Overall, no major difficulties. The wire work is a challenge to get it to look clean without strange bends. I wish they could have used some wires with color. It would add some good detail and contrast.
3
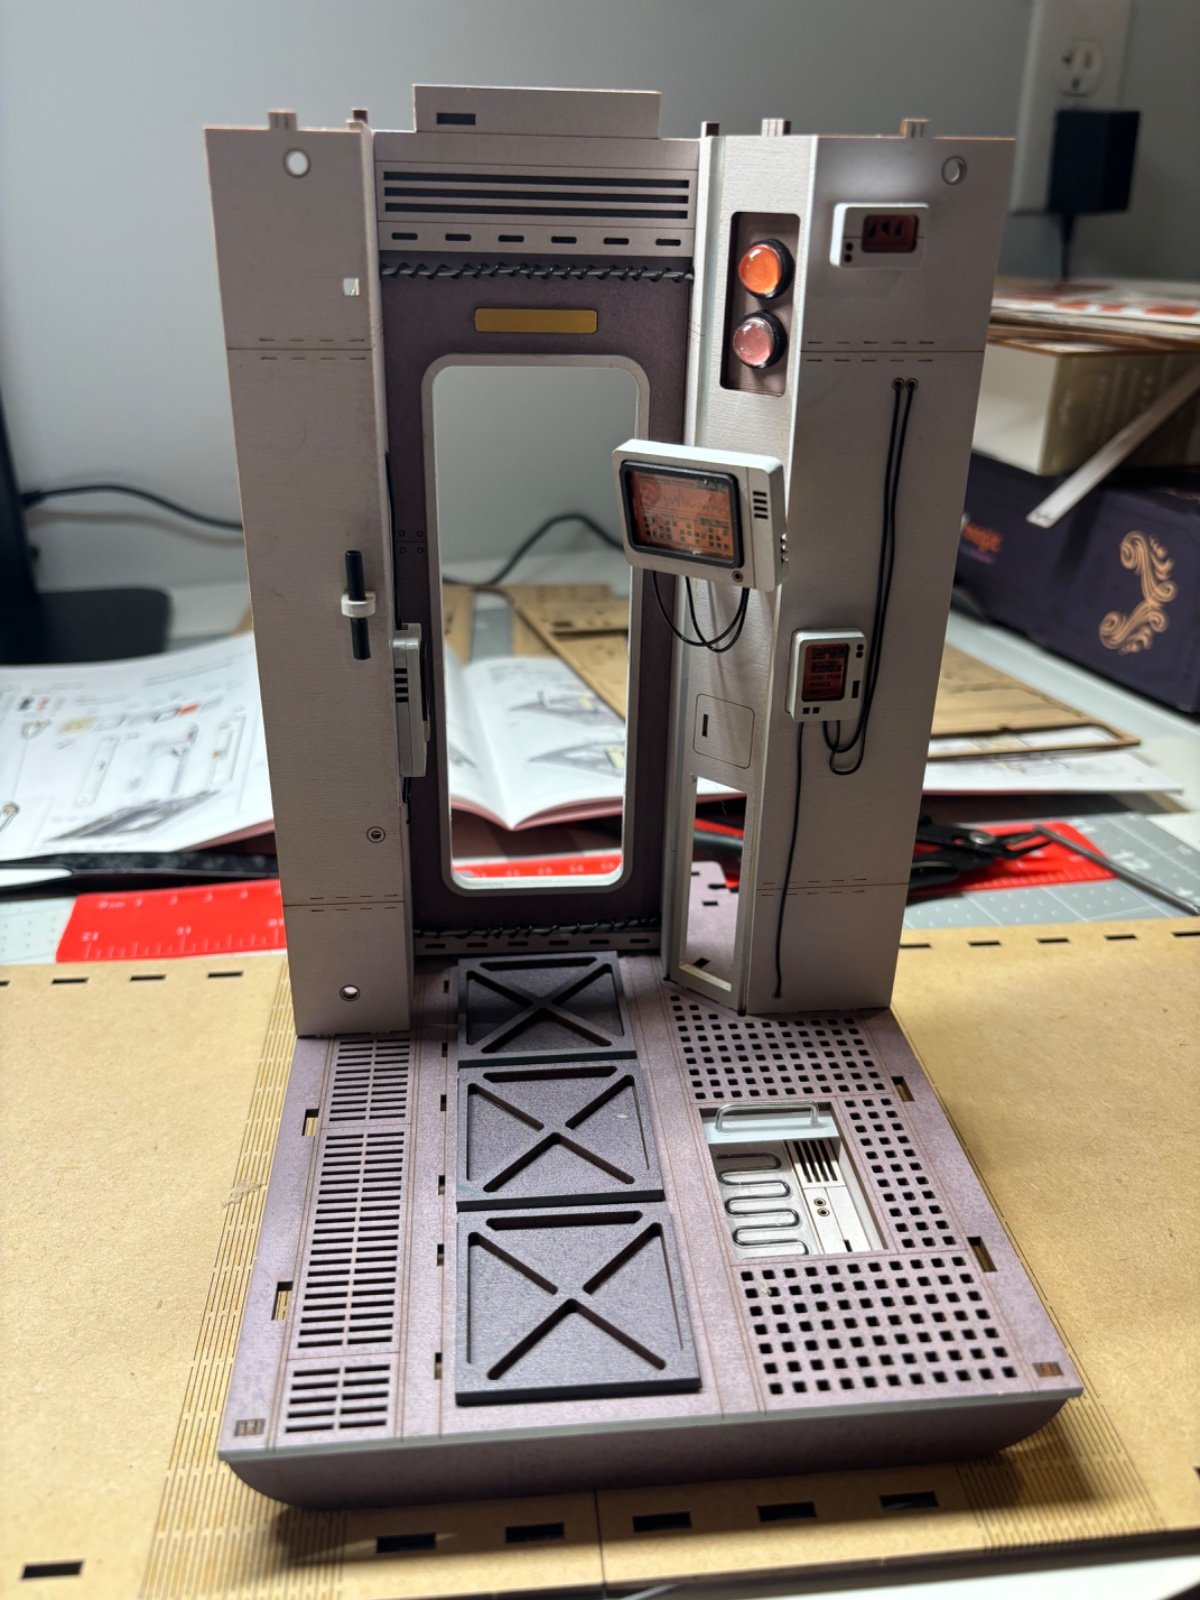
Final construction🙂2h
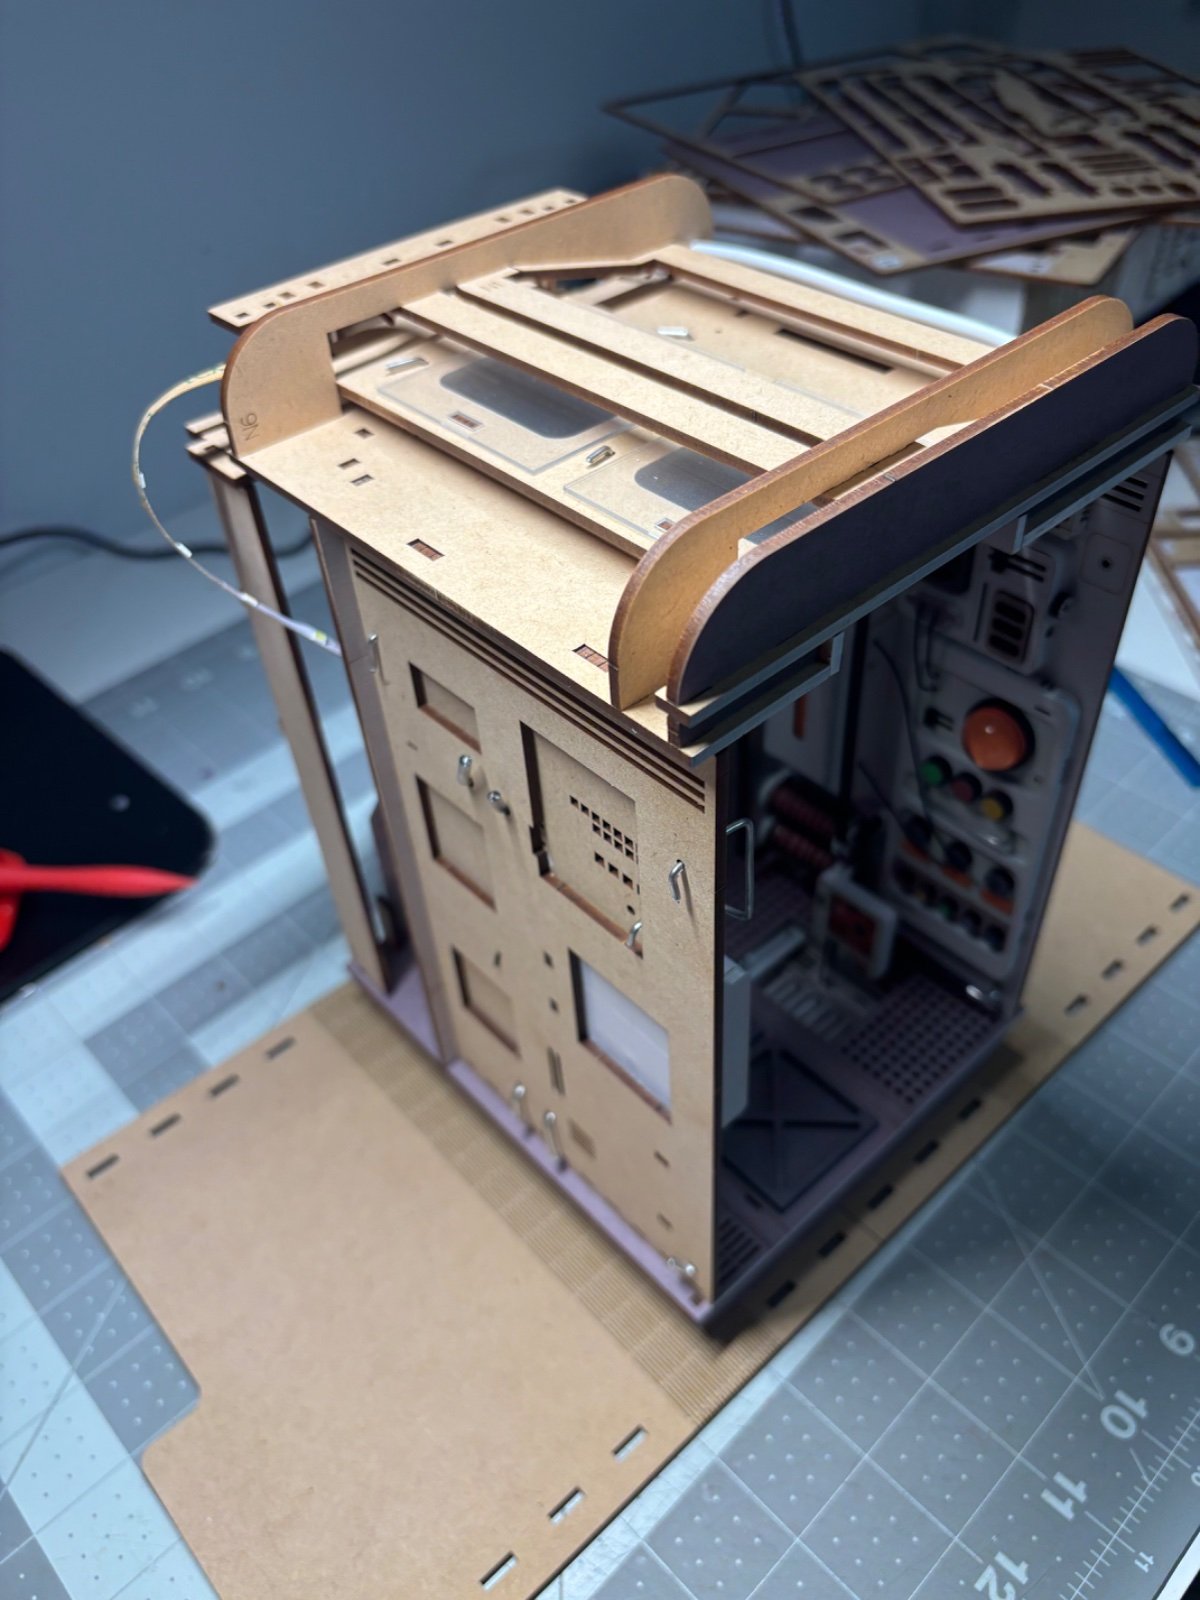
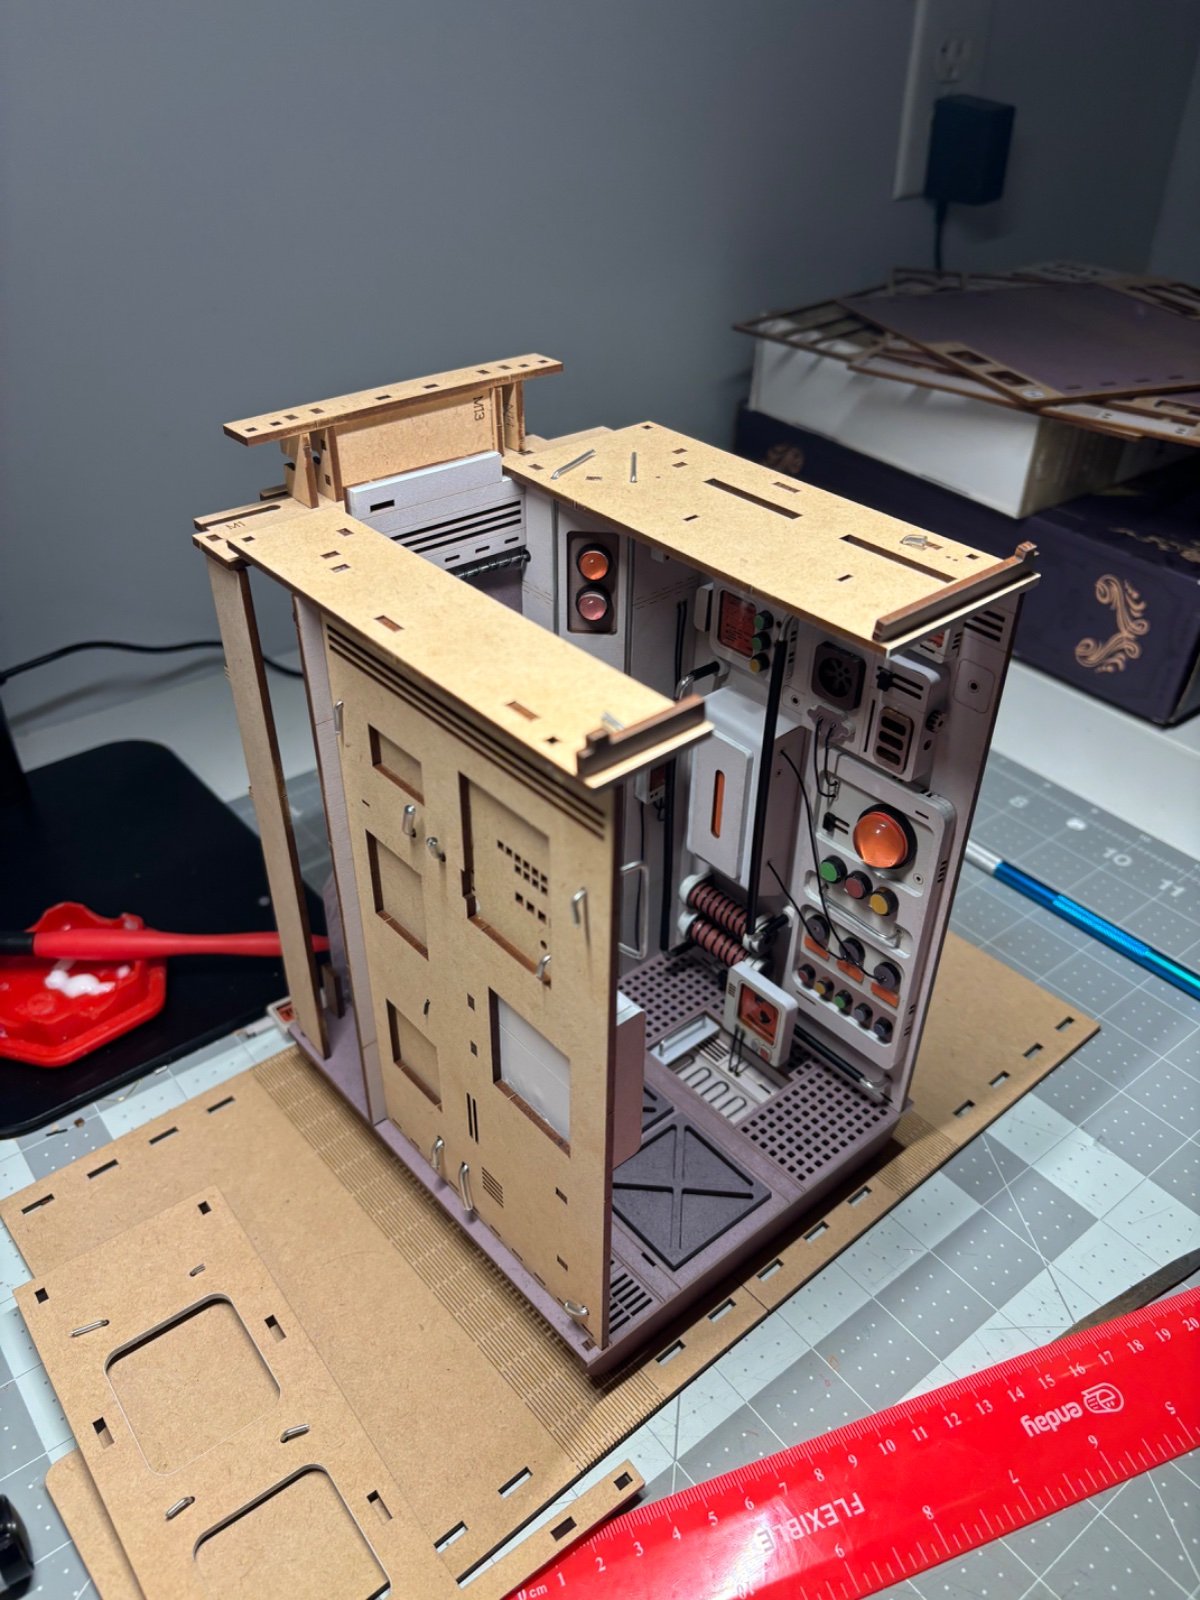
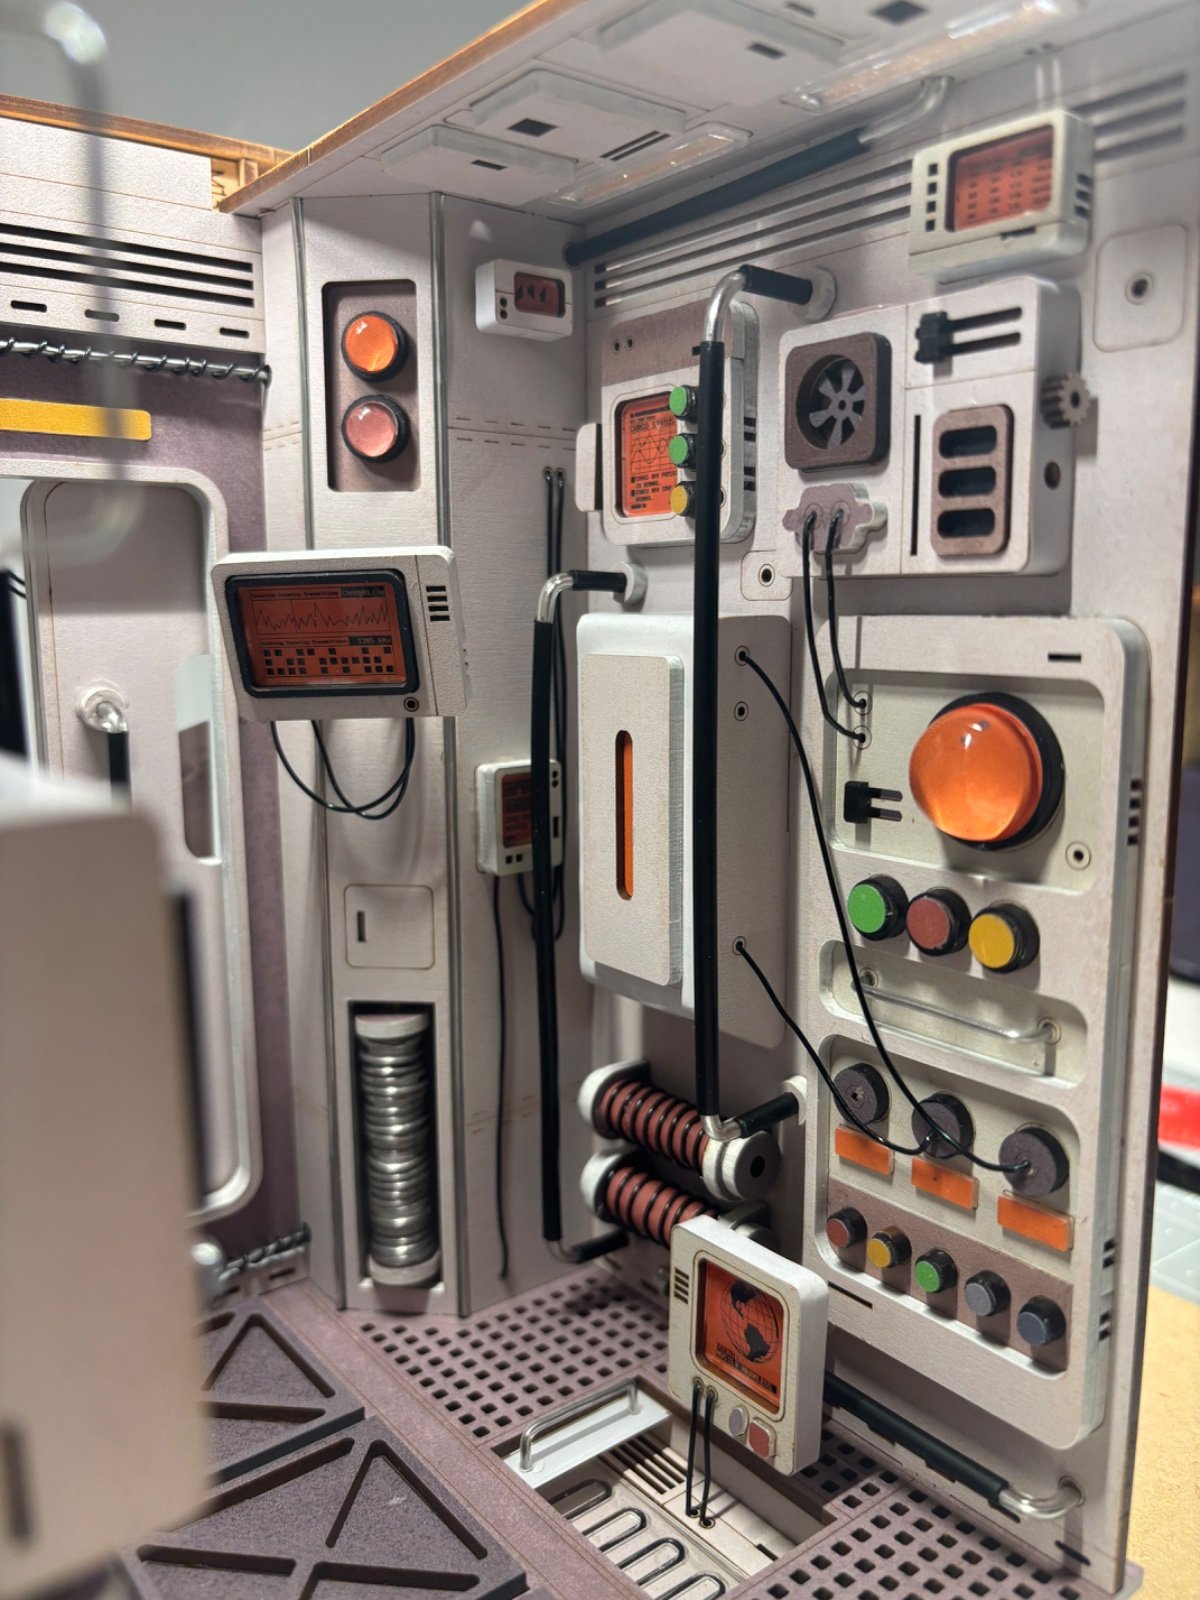
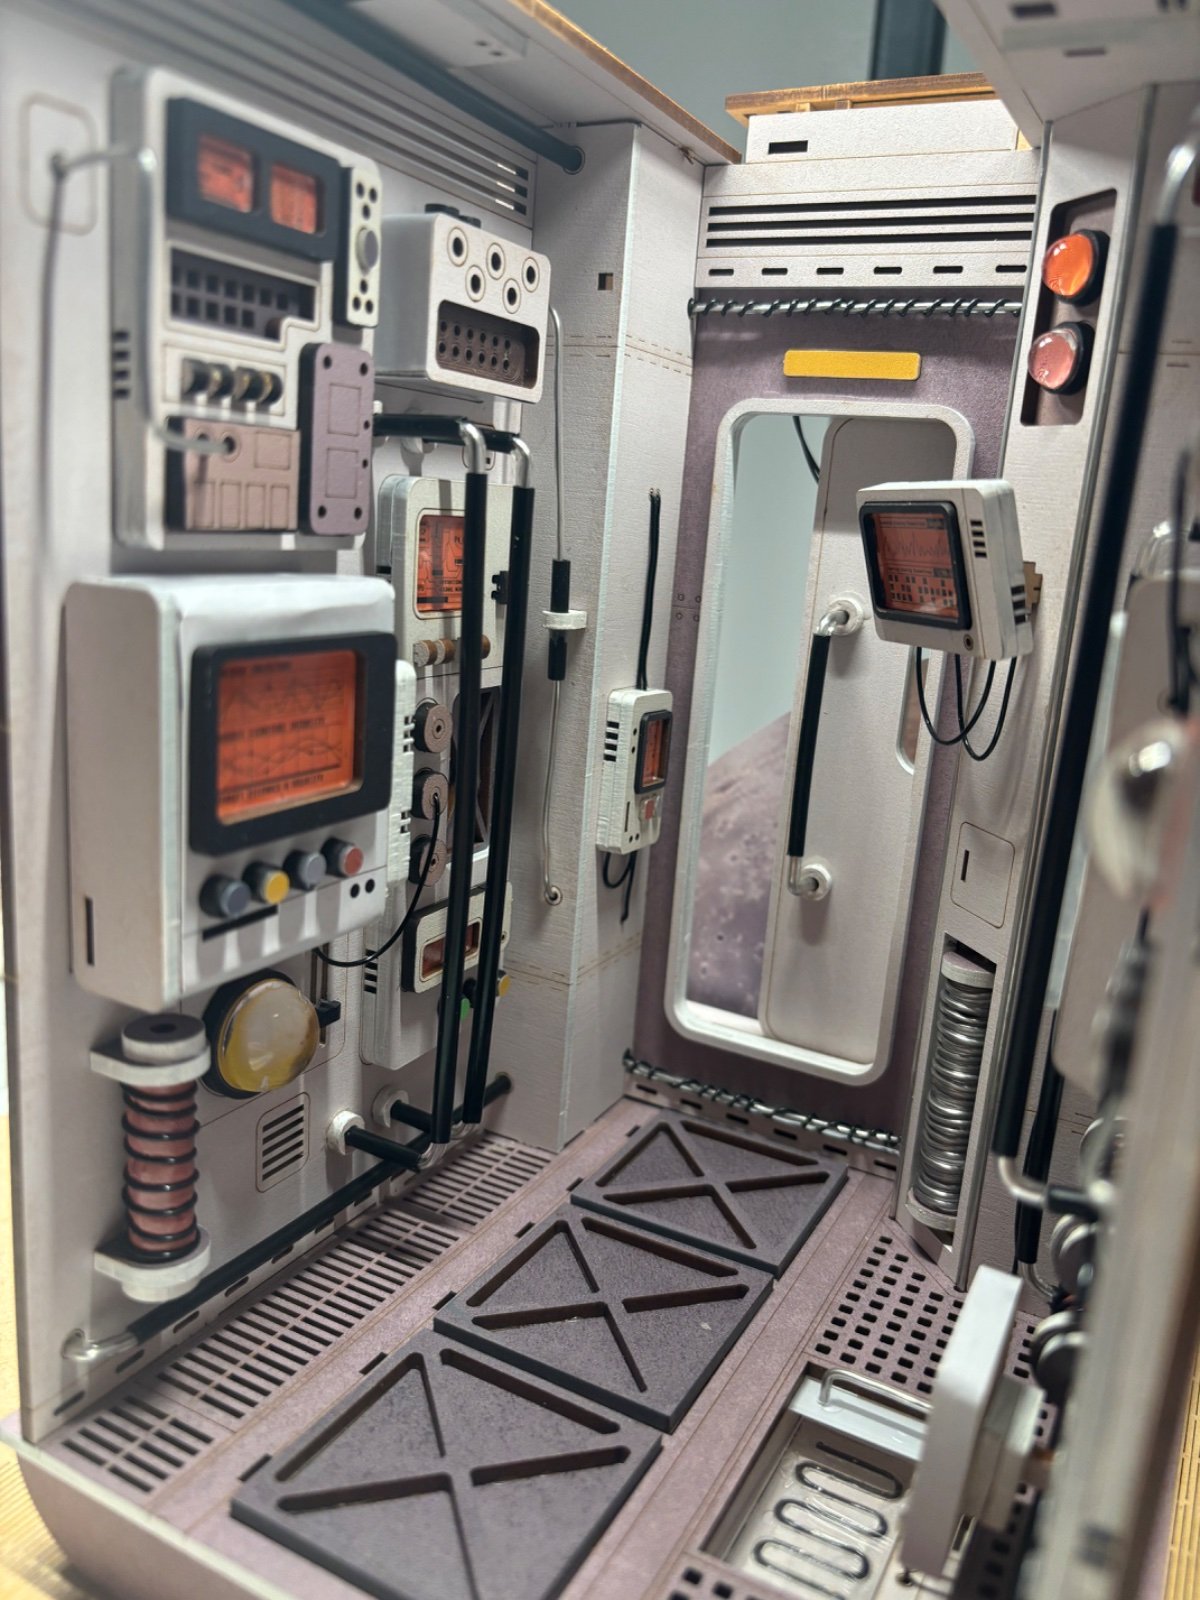
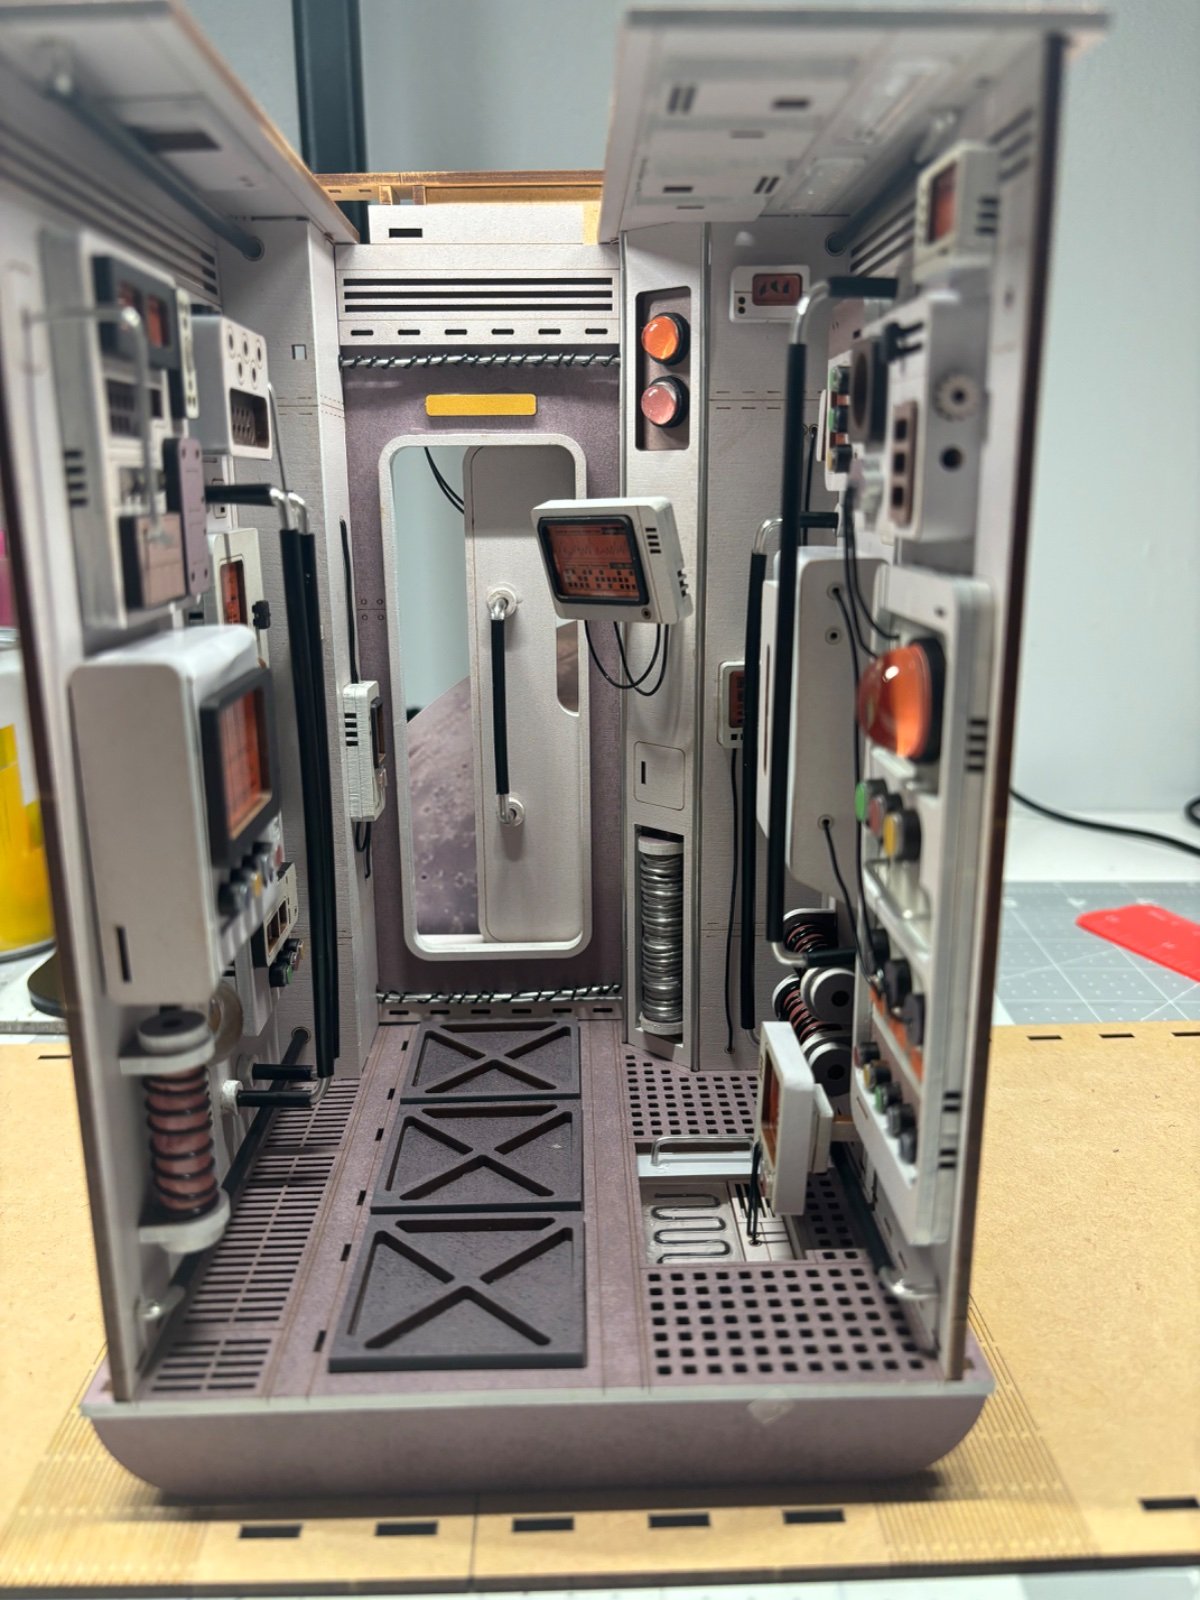
The walls are all starting to come together. I still hate the wrapped wire bits, they came out a little too wonky for this scene. (Space stations shouldn’t look crafty) The first part of the accordion sides are starting to happen…I did the first few pieces with dampening them (drama!) and they survived!
So the lighting is just a single strip of LEDS that have white and yellow lights. They weave across the ceiling behind frosted skylight panels. Figured out that you can adjust the “temp” and brightness of the lights. However, if you run it off the battery pack it is wicked dim. Do like it says in the directions and plug in the USB to an outlet and WOW very bright. No question the battery pack is insufficient.
General Discussion
Questions or thoughts about the build overall? To comment on a specific step, tap the comment link on that step above.
Sign in to leave a comment.