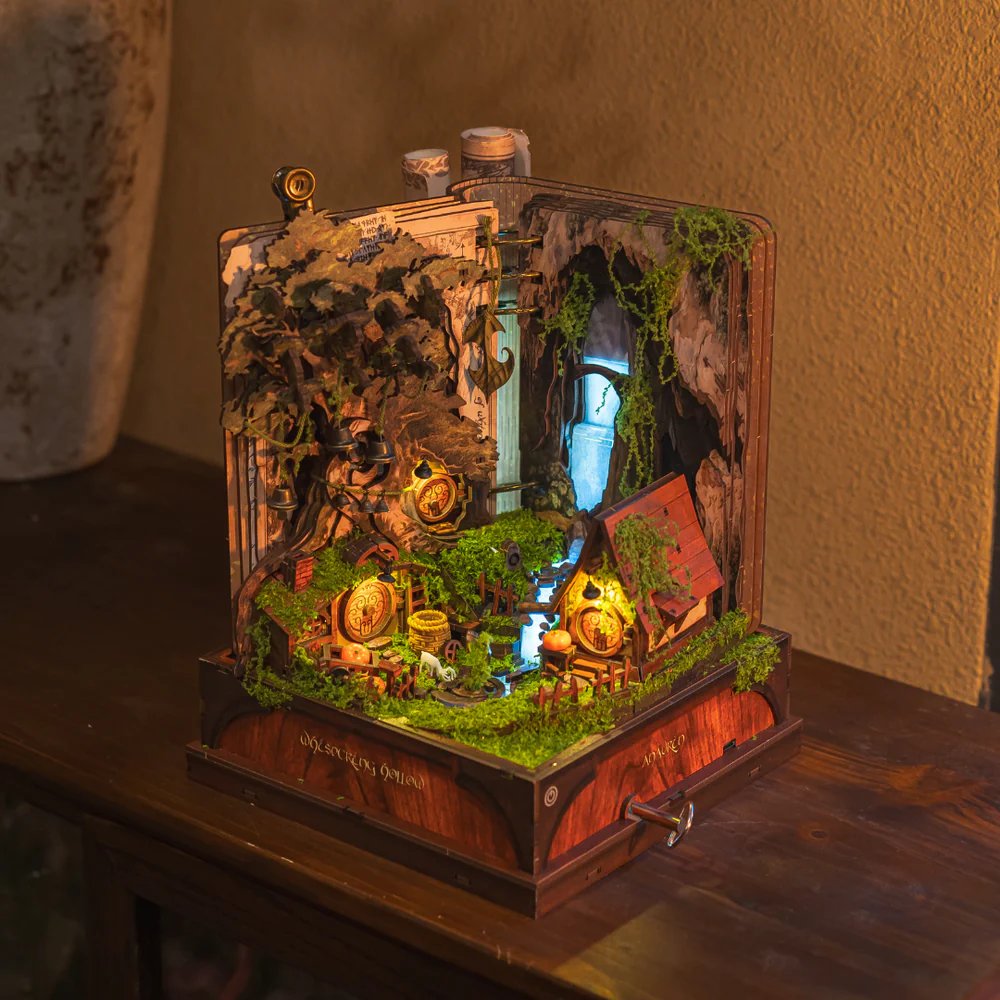
My Whispering Hollow Build
Whispering Hollow by Anavrin
6
Steps
3.3
Avg Frustration
14h
Total Time
Apr 28, 2026
Completed
1
Unboxing notes😊2h
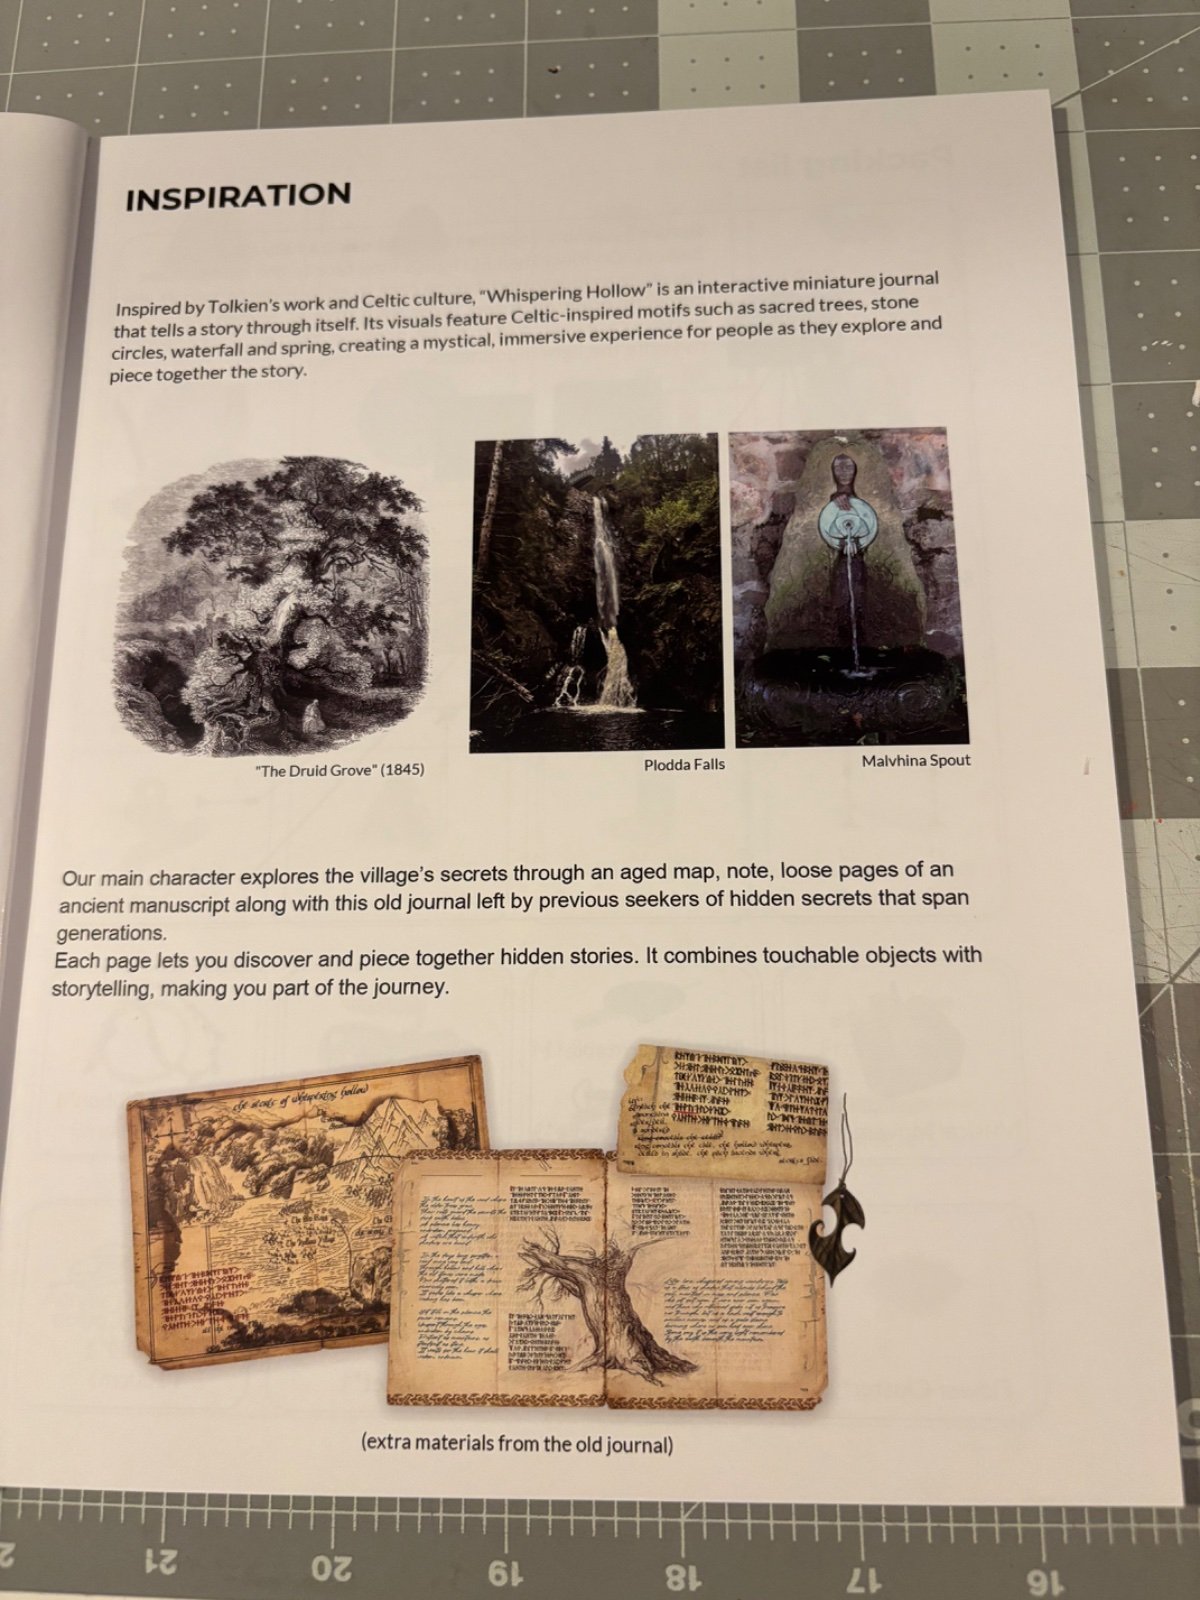
Anavarin’s Whispering Hollow
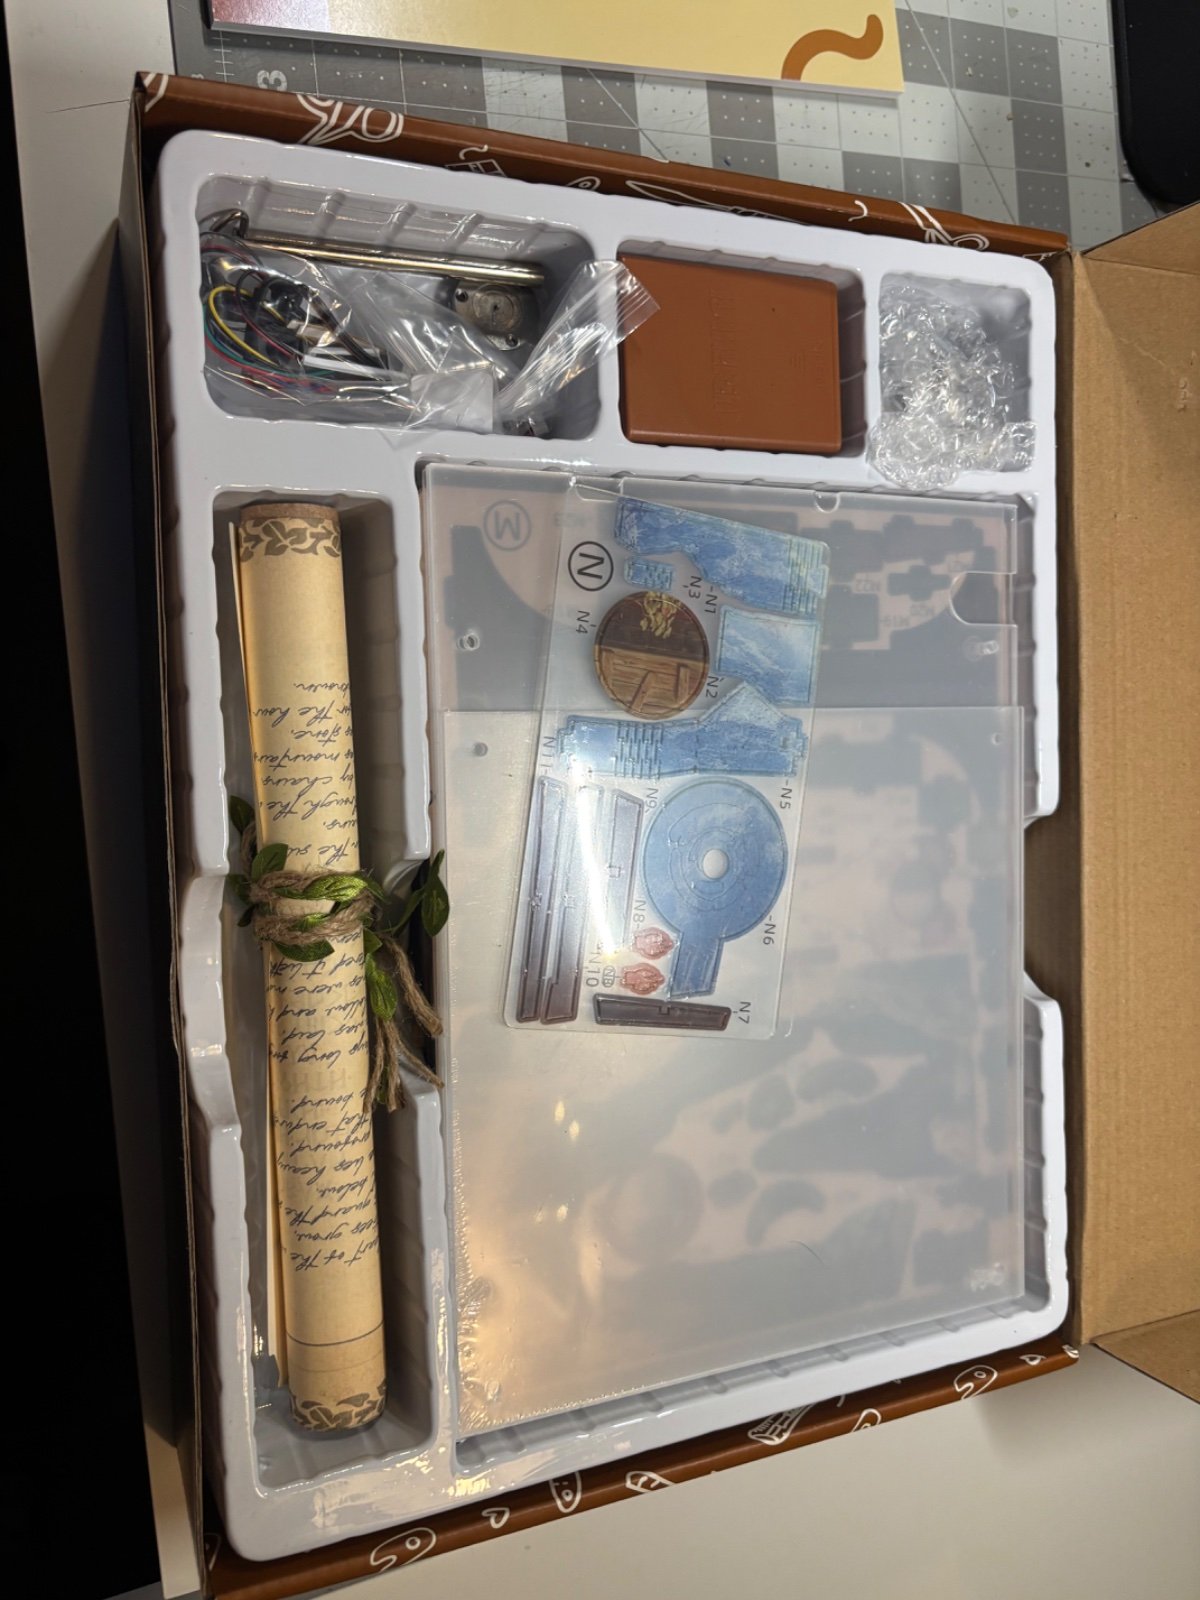
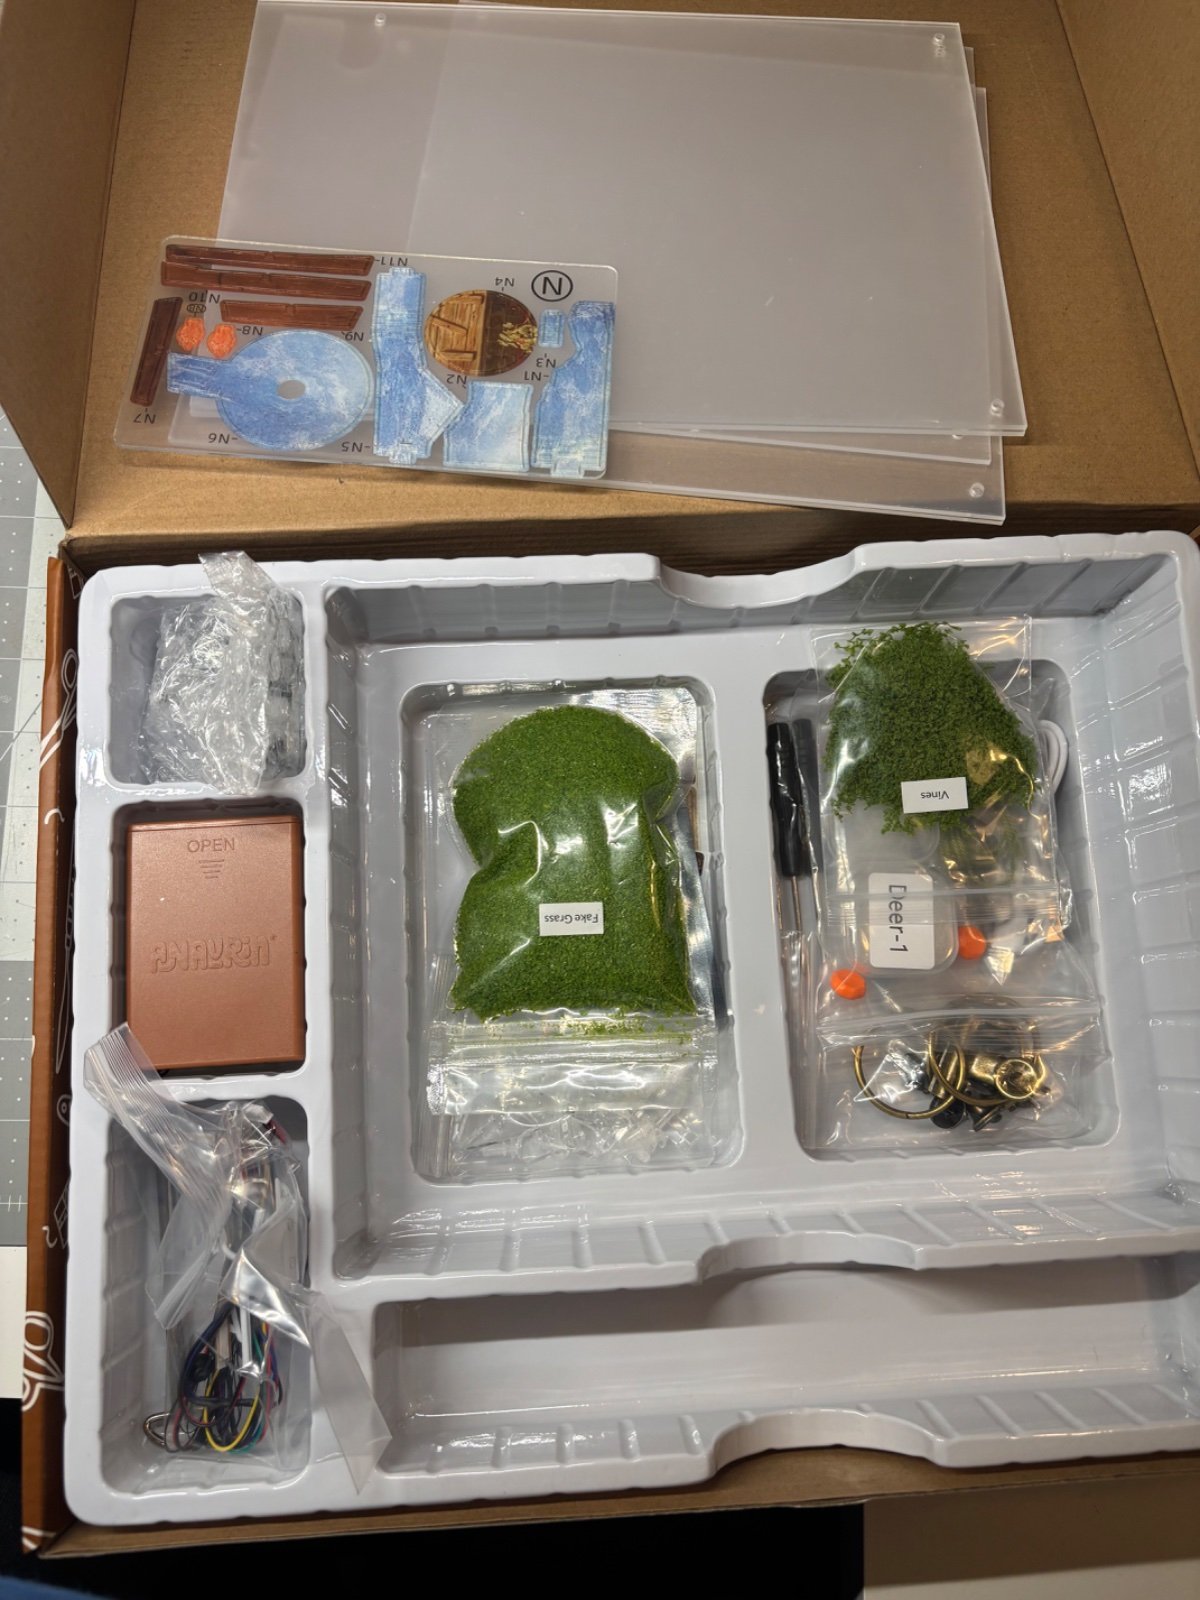
Unboxing notes:
Beautiful packaging
Thick wood, this sucker is gonna be solid!
A very nicely crafted rolled scroll or letter, complete with aging and bound in twine/vines.
Vibrant printing on the wood panels.
A fairly extensive cluster of lighting, multicolored single bulb and LED strips.
THICK acrylic for the dust cover
Beautifully made instructions - full color, 3D rendered.
A potent smell of MDF off-gassing when I opened it. This is probably due to it being a freshly packaged unit. Some people may dislike it, I don’t mind it.
A good mix of textures, foliage and two small deer figures (packaged like little jewels!). First few steps had no surprises, stay tuned!
2
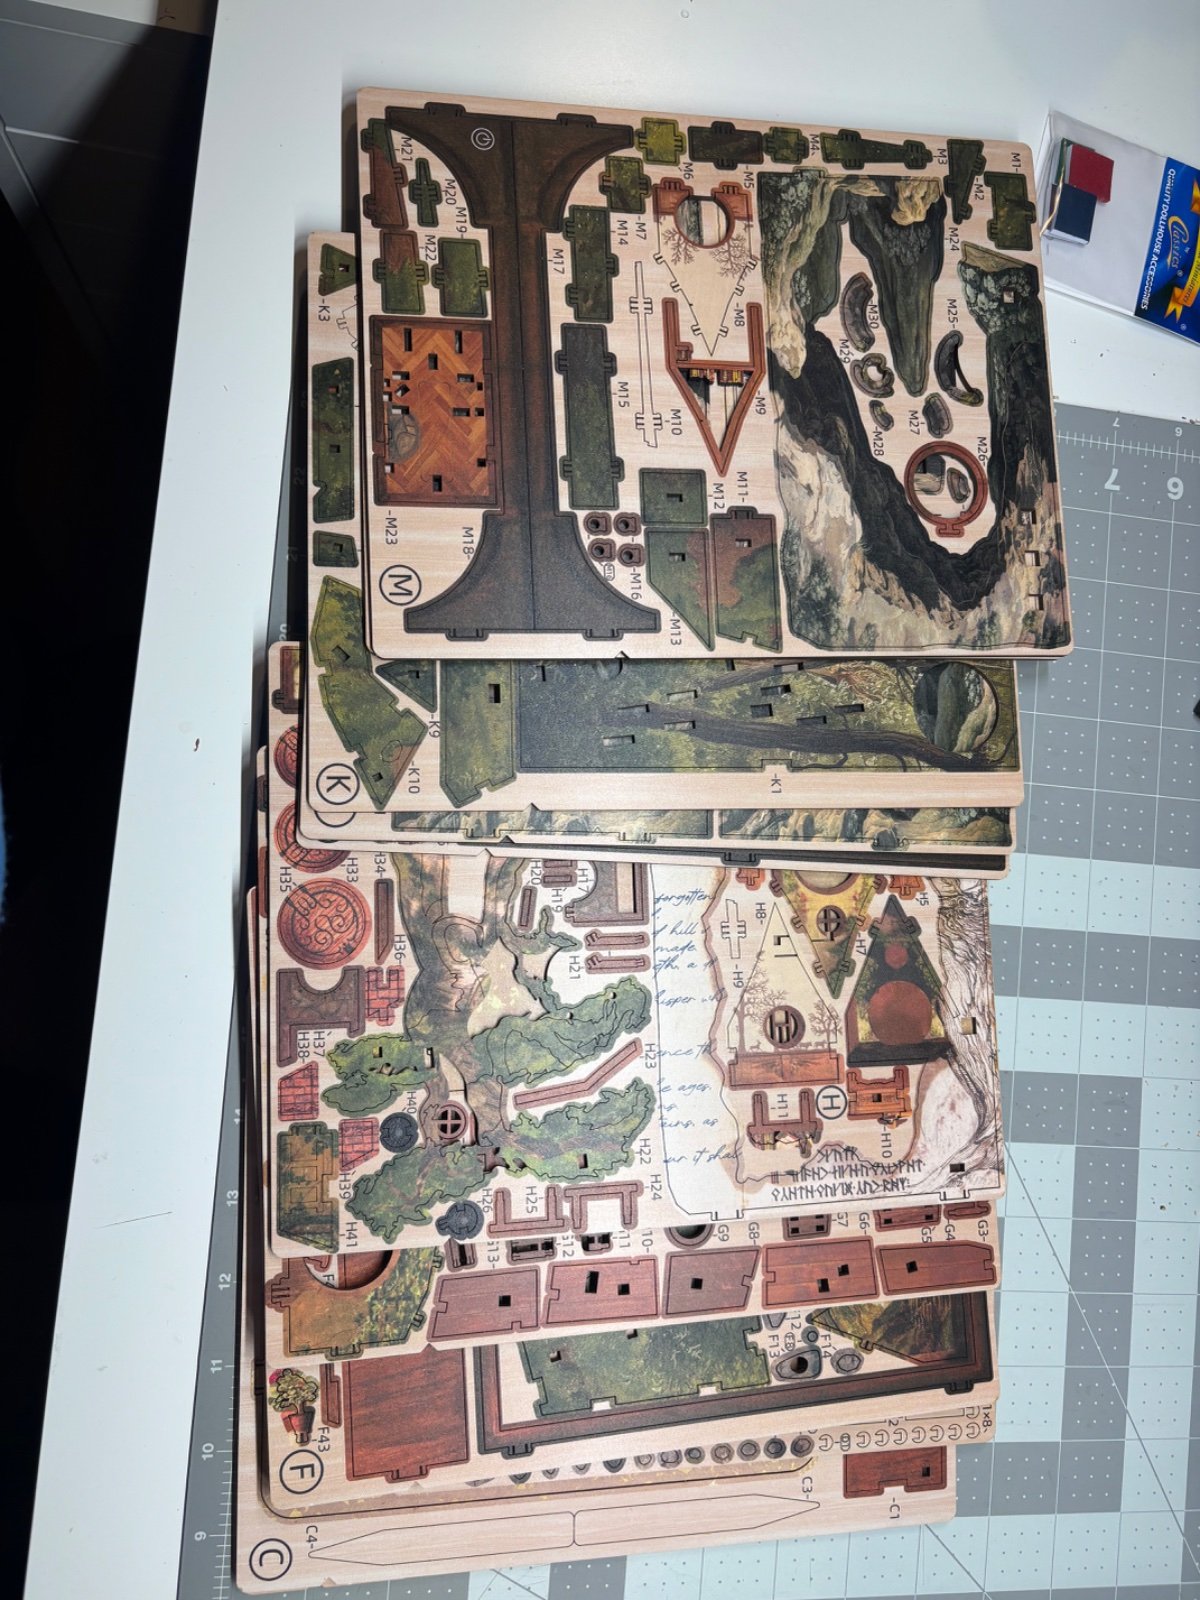
Step 1 to 7😤2h
All is great, but whew…still kinda smelly!
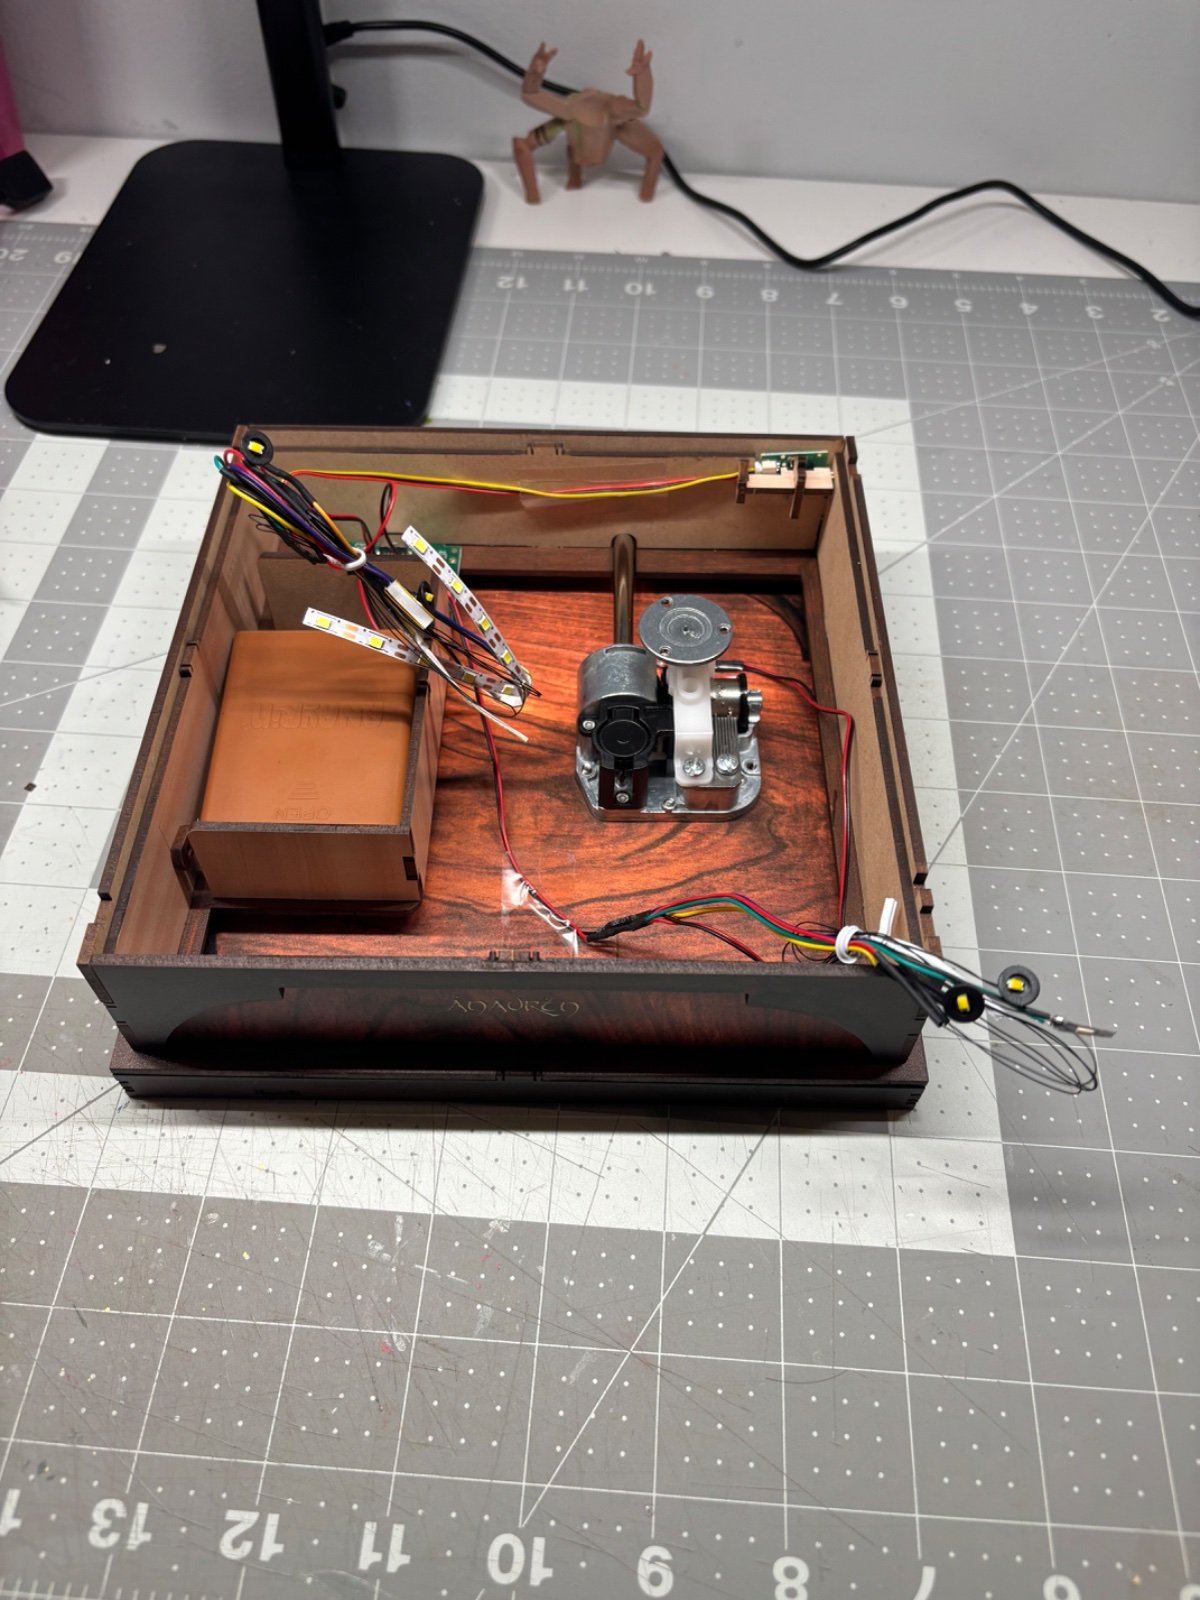
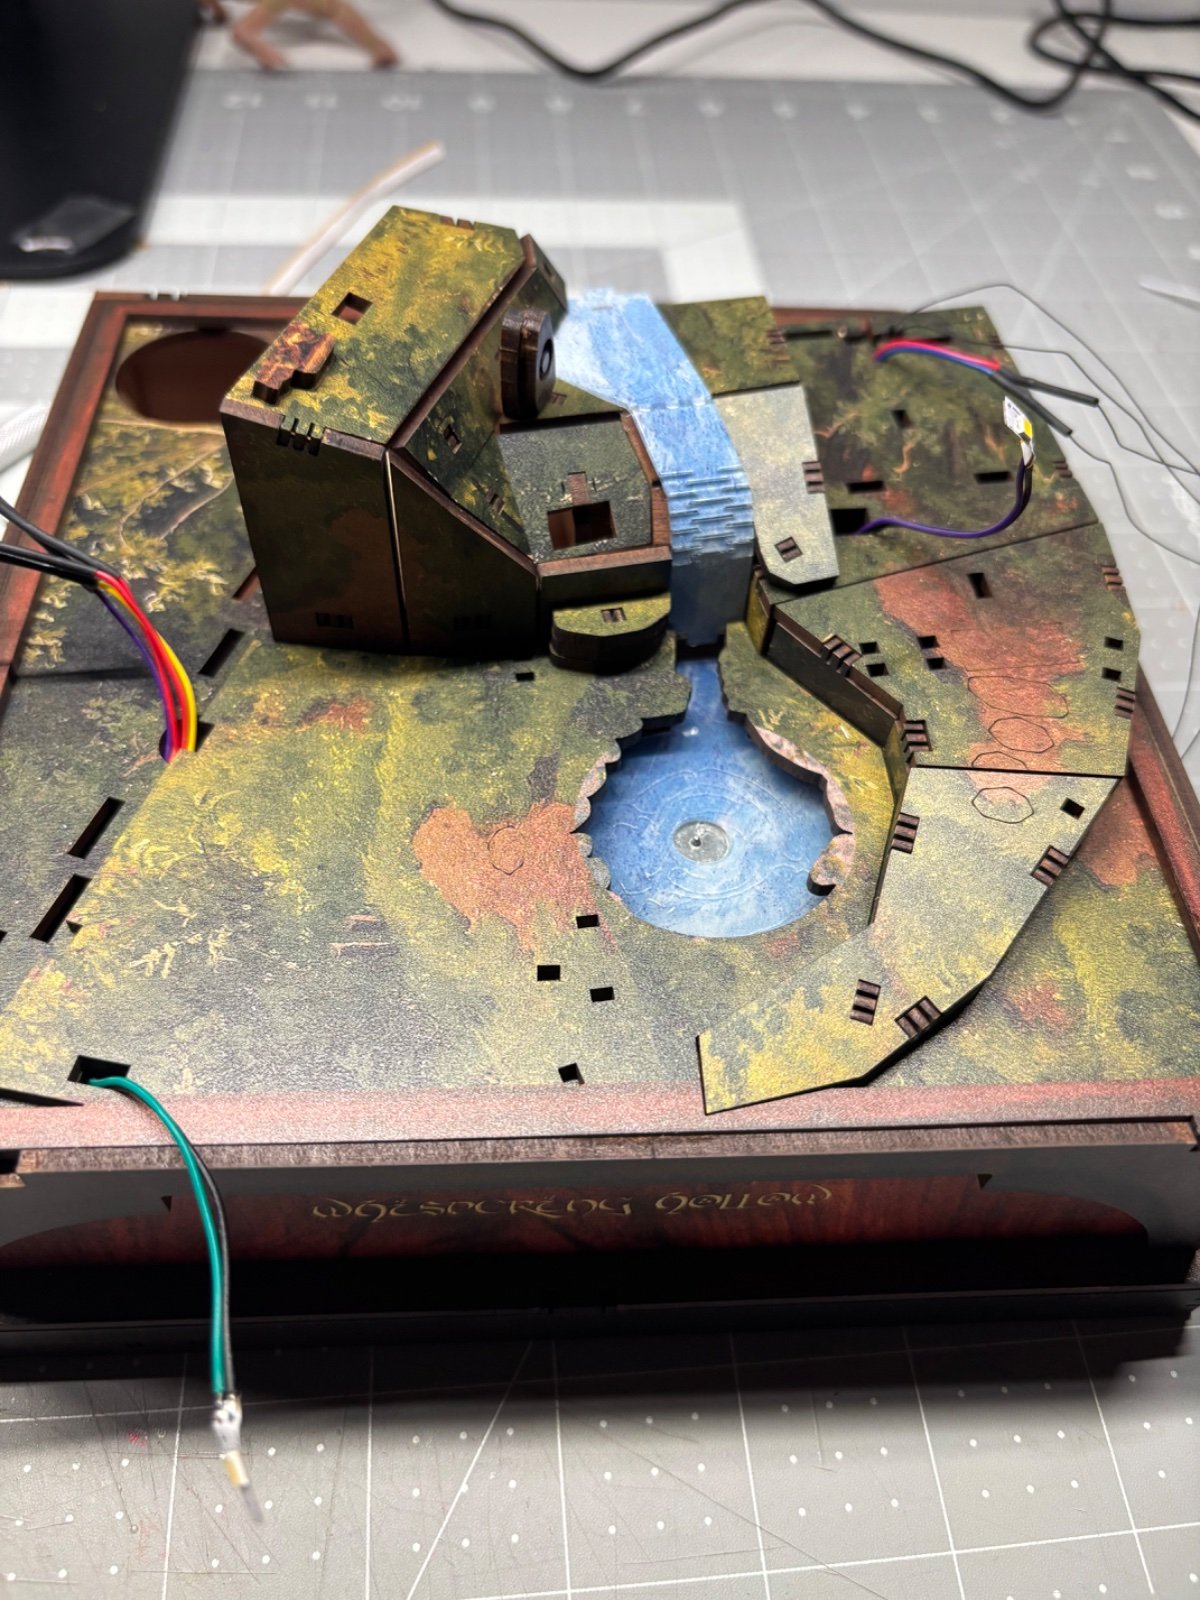
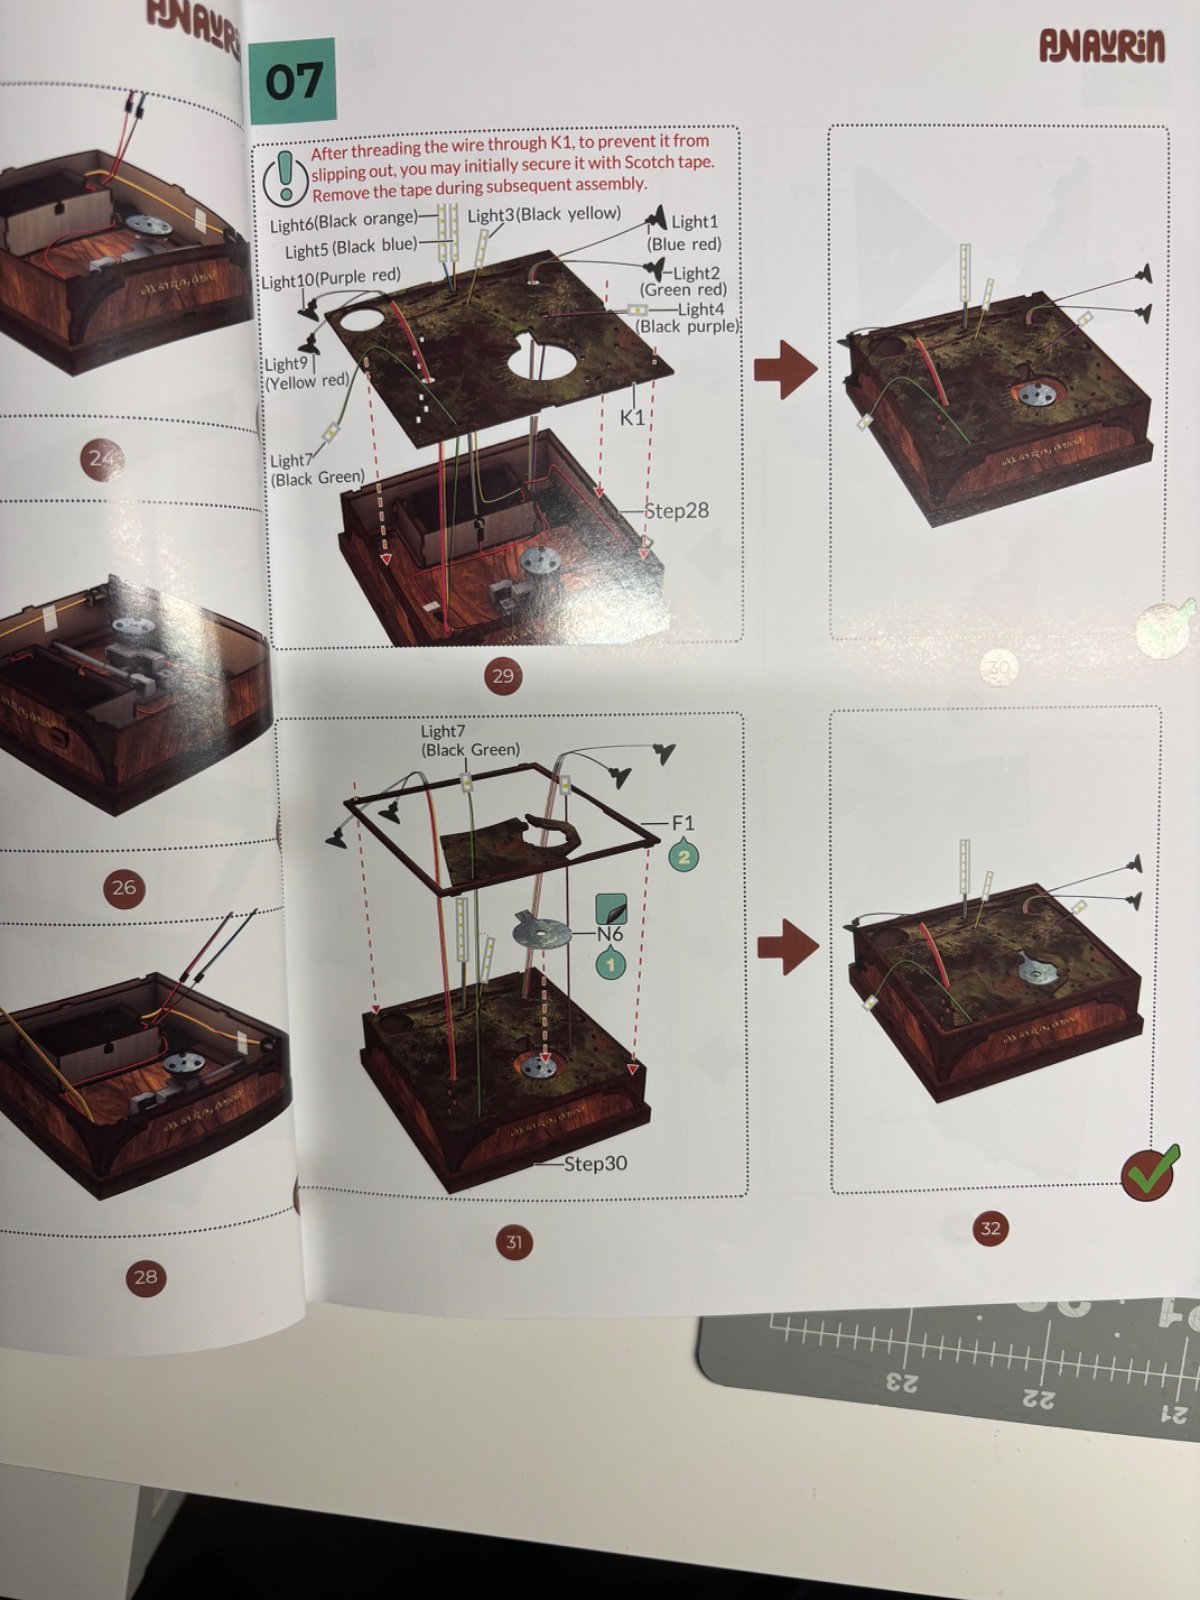
Confused… K1 is the bottom of the kit, but the graphics are of a forest taken from the side. It does not make sense. It’s getting covered by landscaping so it probably won’t matter. However I am realizing that something about the pond is not right. The acrylic pond appears to just sit on top of the music box. However that let the pond “float around” and it is not secured to anything. If it were to tip the kit, the pond would fall inside and be stuck. I emailed Anavarin and am asking a few folks who have started to work on it as well for their advice. I need to figure this out before I get too far.
3
Assemble of 1st house😐2h


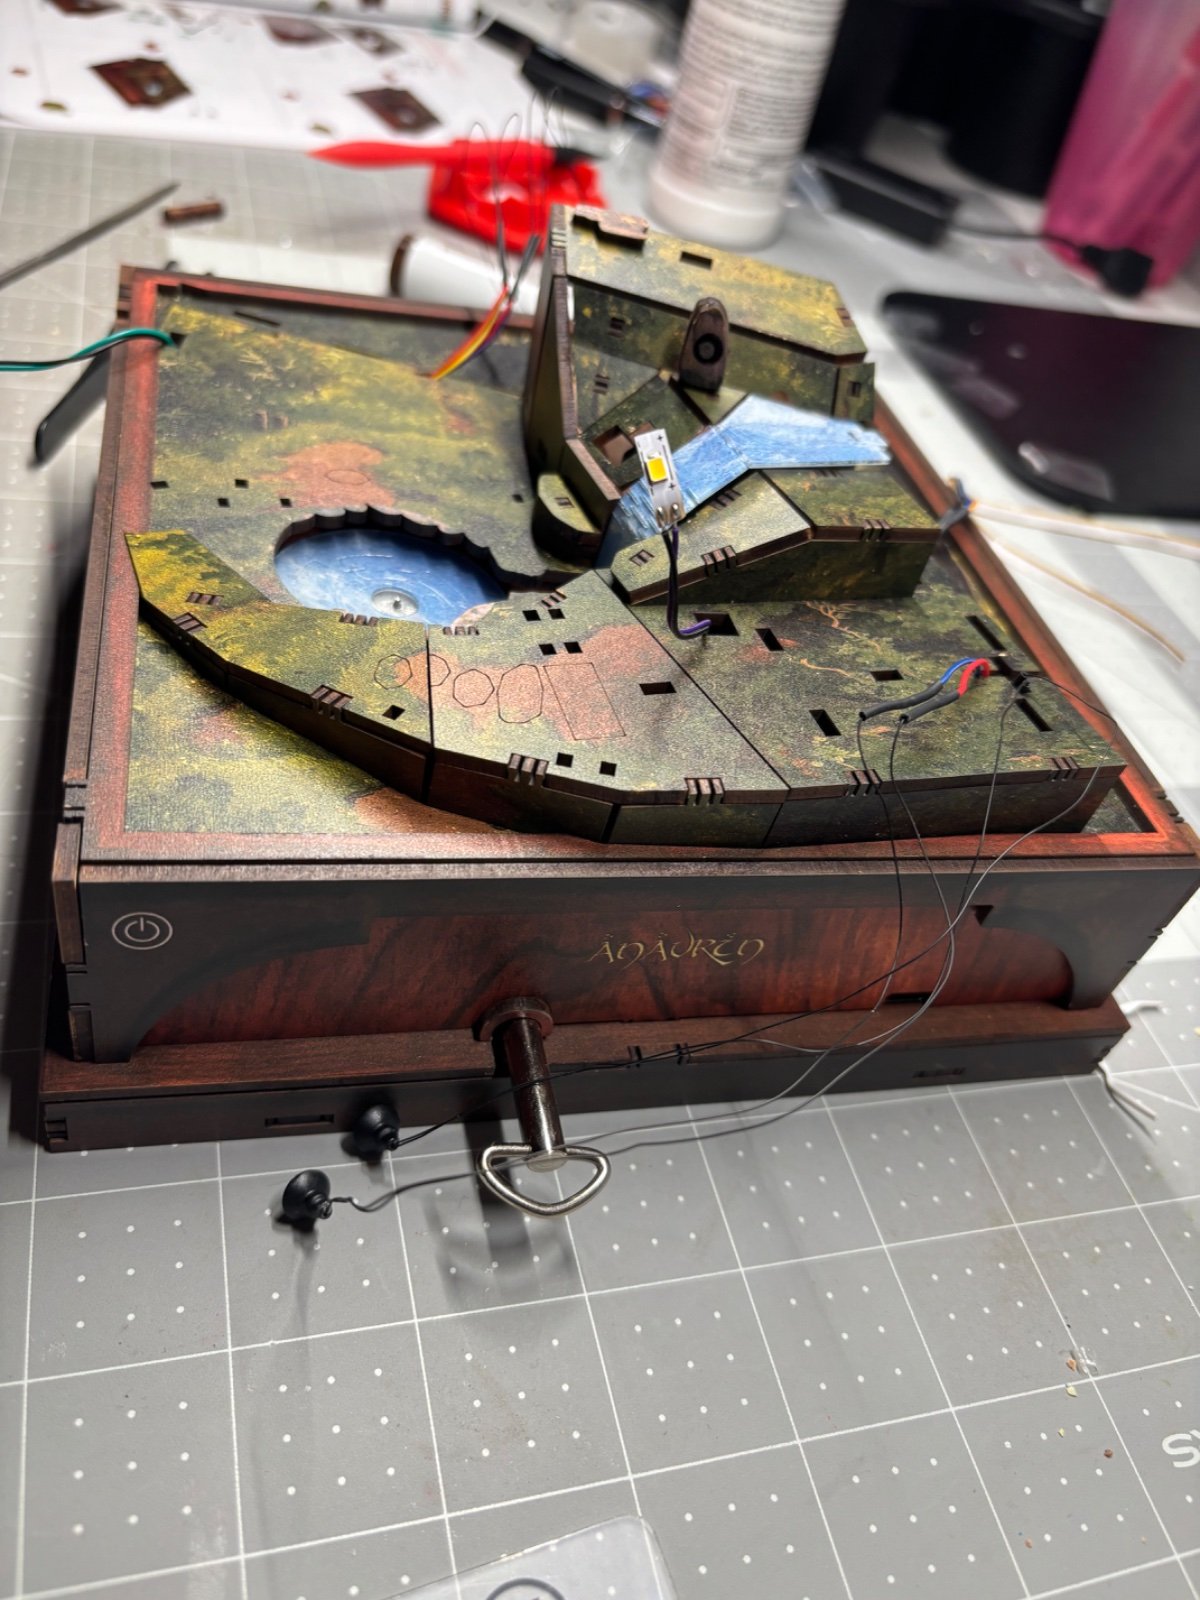
So I figured out that I missed something in step 1….doh!😣 I had to go back and insert a disc on top of the music box. Thankfully easy at this stage. That fixed my problem with the pond. Assembly is going well otherwise. I see what they are doing here with this kit. The terrain is going to be undulating hills, covered in grass…but right now it looks very blocky. I think this will work out. I had to get rid of the 2D “river stones”, I just couldn’t do it. I added real rock, some flock to make spray foam and cover the joint in the stream/pond, used a different type of vegetation on the statue and swapped the fake “log” for a real one. I keep looking at the big tree which is coming later and I think I am going to have to modify it ALOT. You really can’t make a tree out of flat pieces of wood that connect at right angles and make it look realistic. It looks like something out of Minecraft the more I study it. I think this kit is going to be good, but I need to make a lot of modifications to be happy with it. Oh… and the touch switch is bing very fussy. It does not work well under the panel on top of it. I need to address that later. More to come!
4
Work on the first little house😐2h


When working in the first little house, I moved it around so much that the led under the fireplace broke (slightly). I managed to get it stuck in place in just the right way that there is still contact being made, so it works. Just watch out for over handling the wiring!
5
The “tree”😤2h


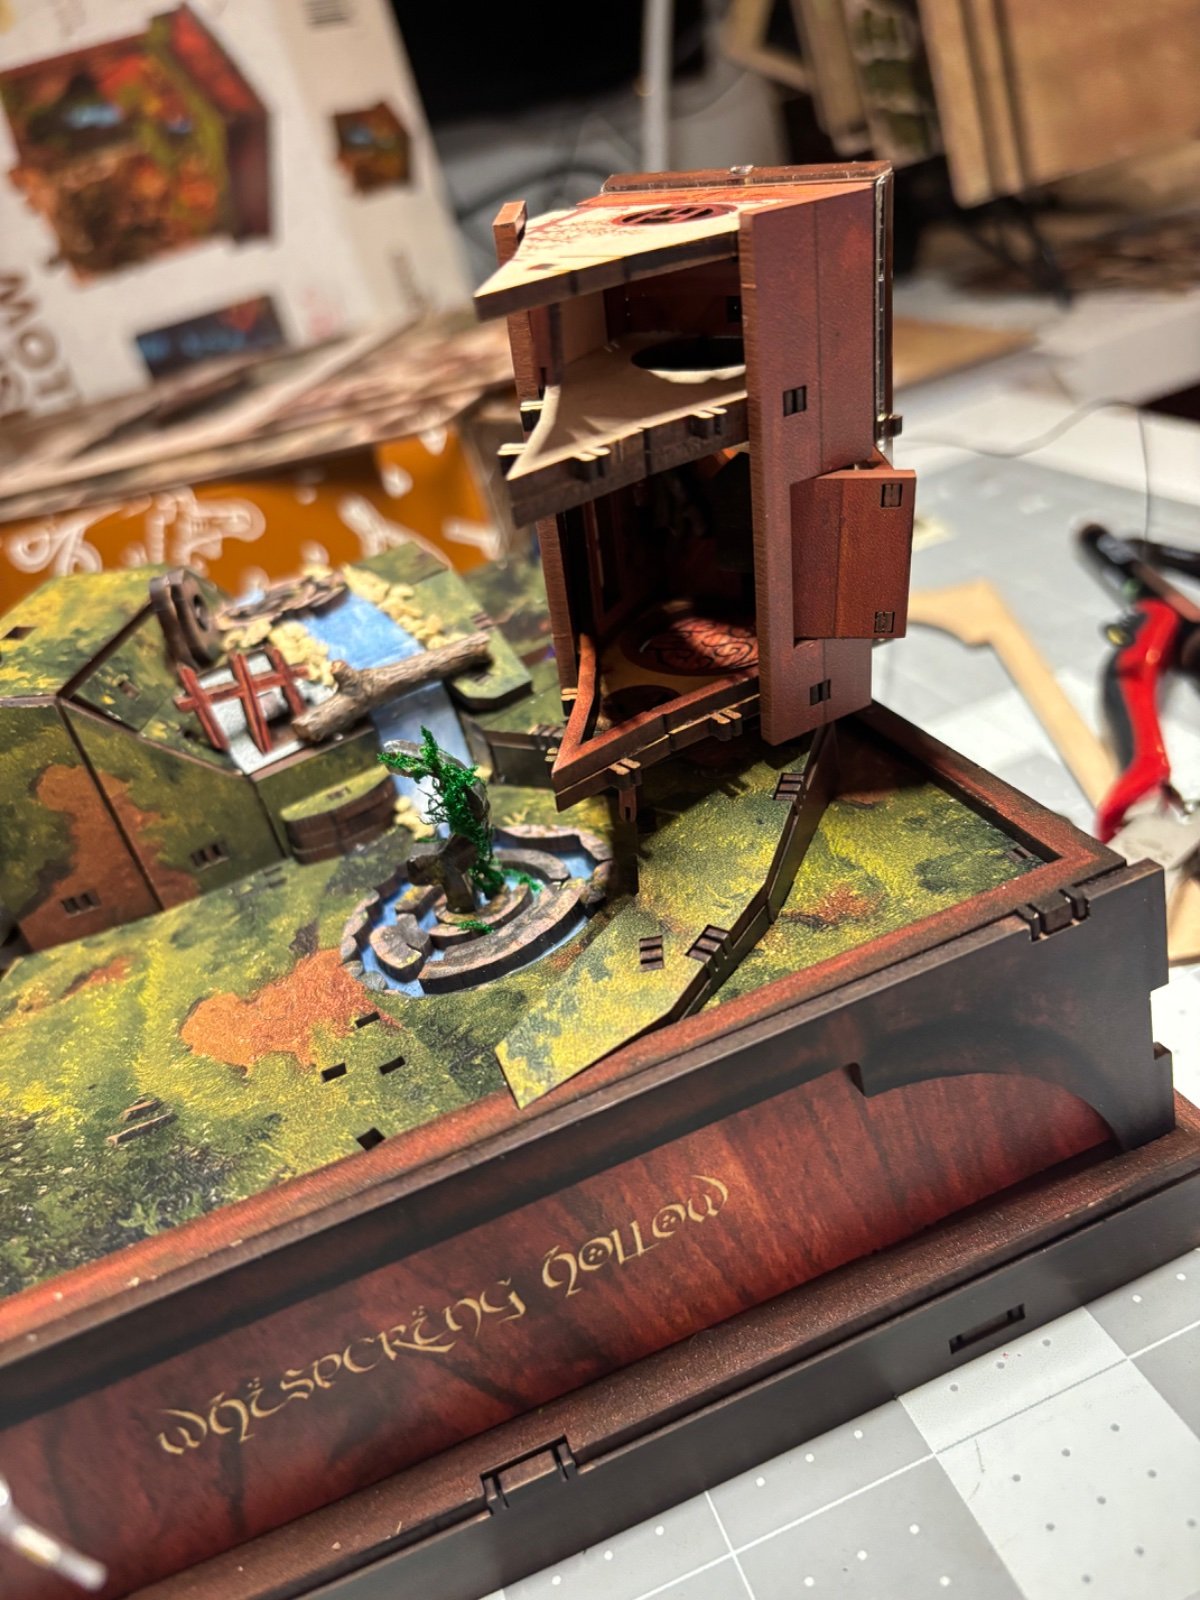
I really had to customize this tree to make it bearable for me. I am really disappointed that Anavarin gave us this tree for the price point they are charging. I used a lot of cut up blank trees that I got from a model railroad shop, superglued them into the tree, then painted it, inch by inch with while glue and sprinkled leaves over the whole thing. (Tip, put the whole thing on a cookie sheet…this part is messy!) watch out for the root on the left side, it has to fit very close to the base or the cover won’t fit. I had to cut it off. The pics were taken before I figured that out.
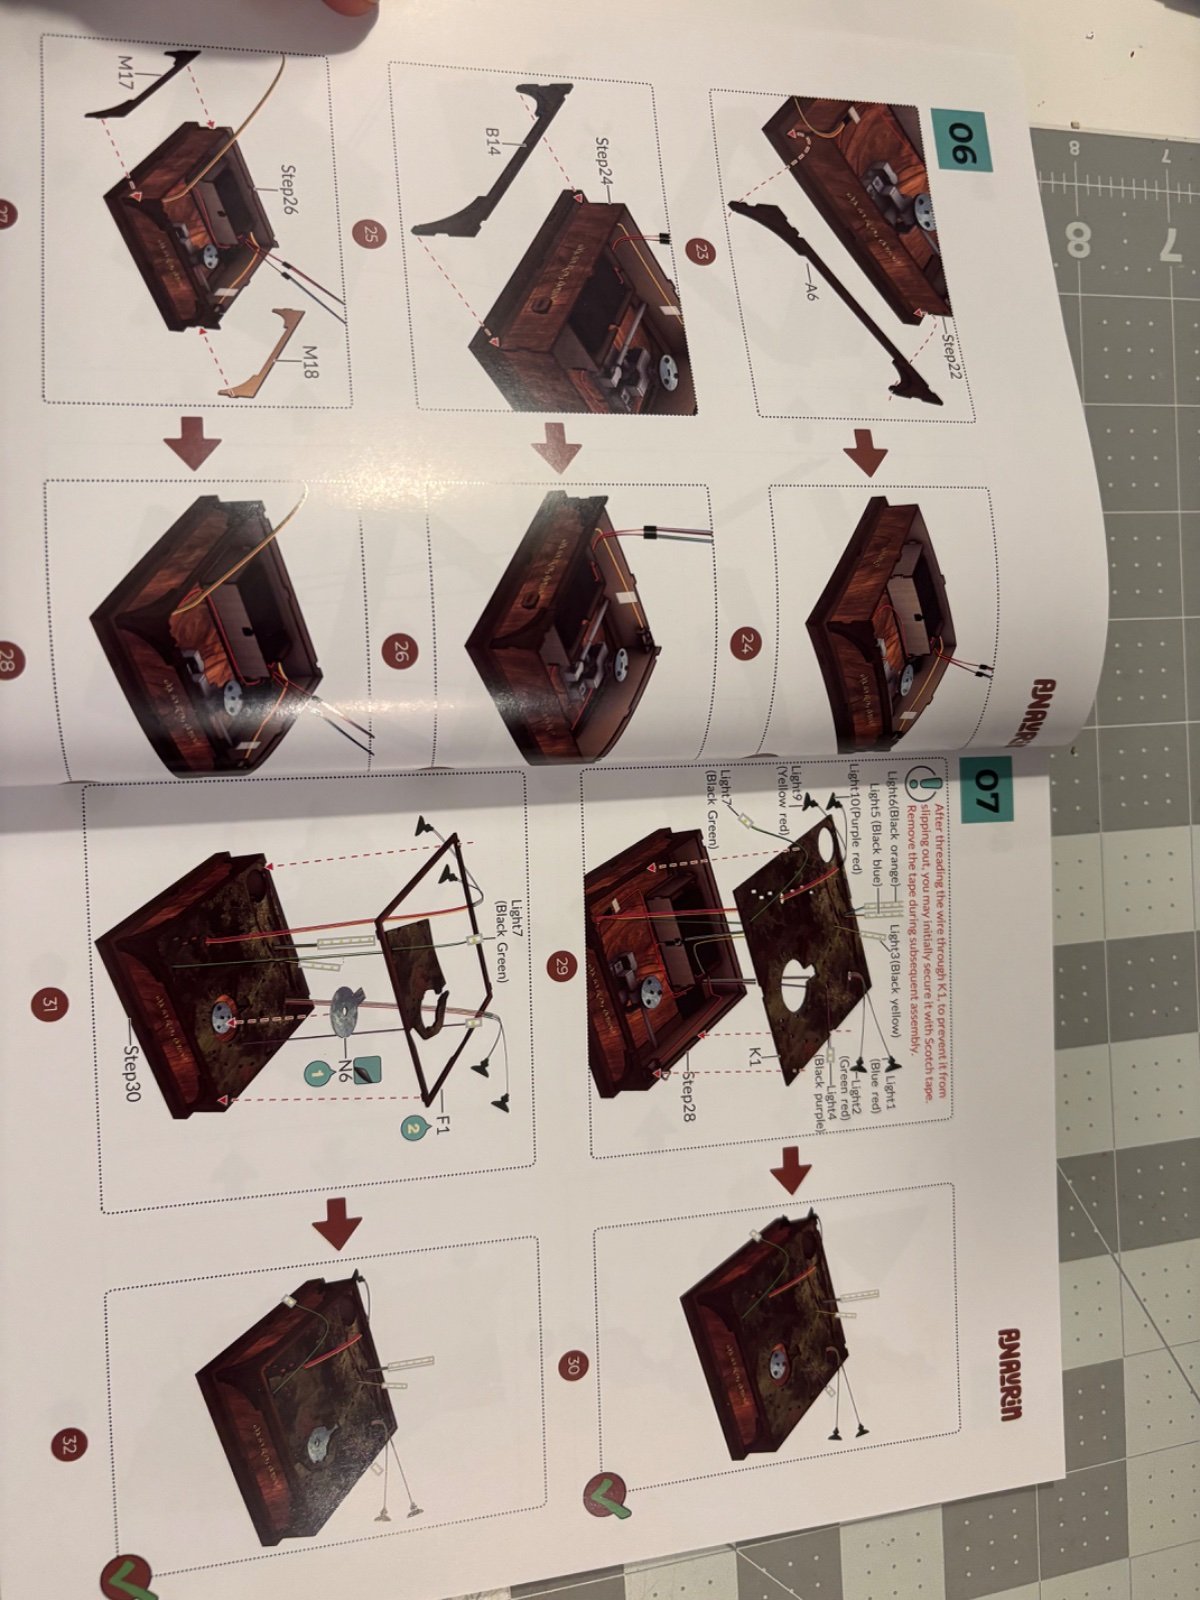
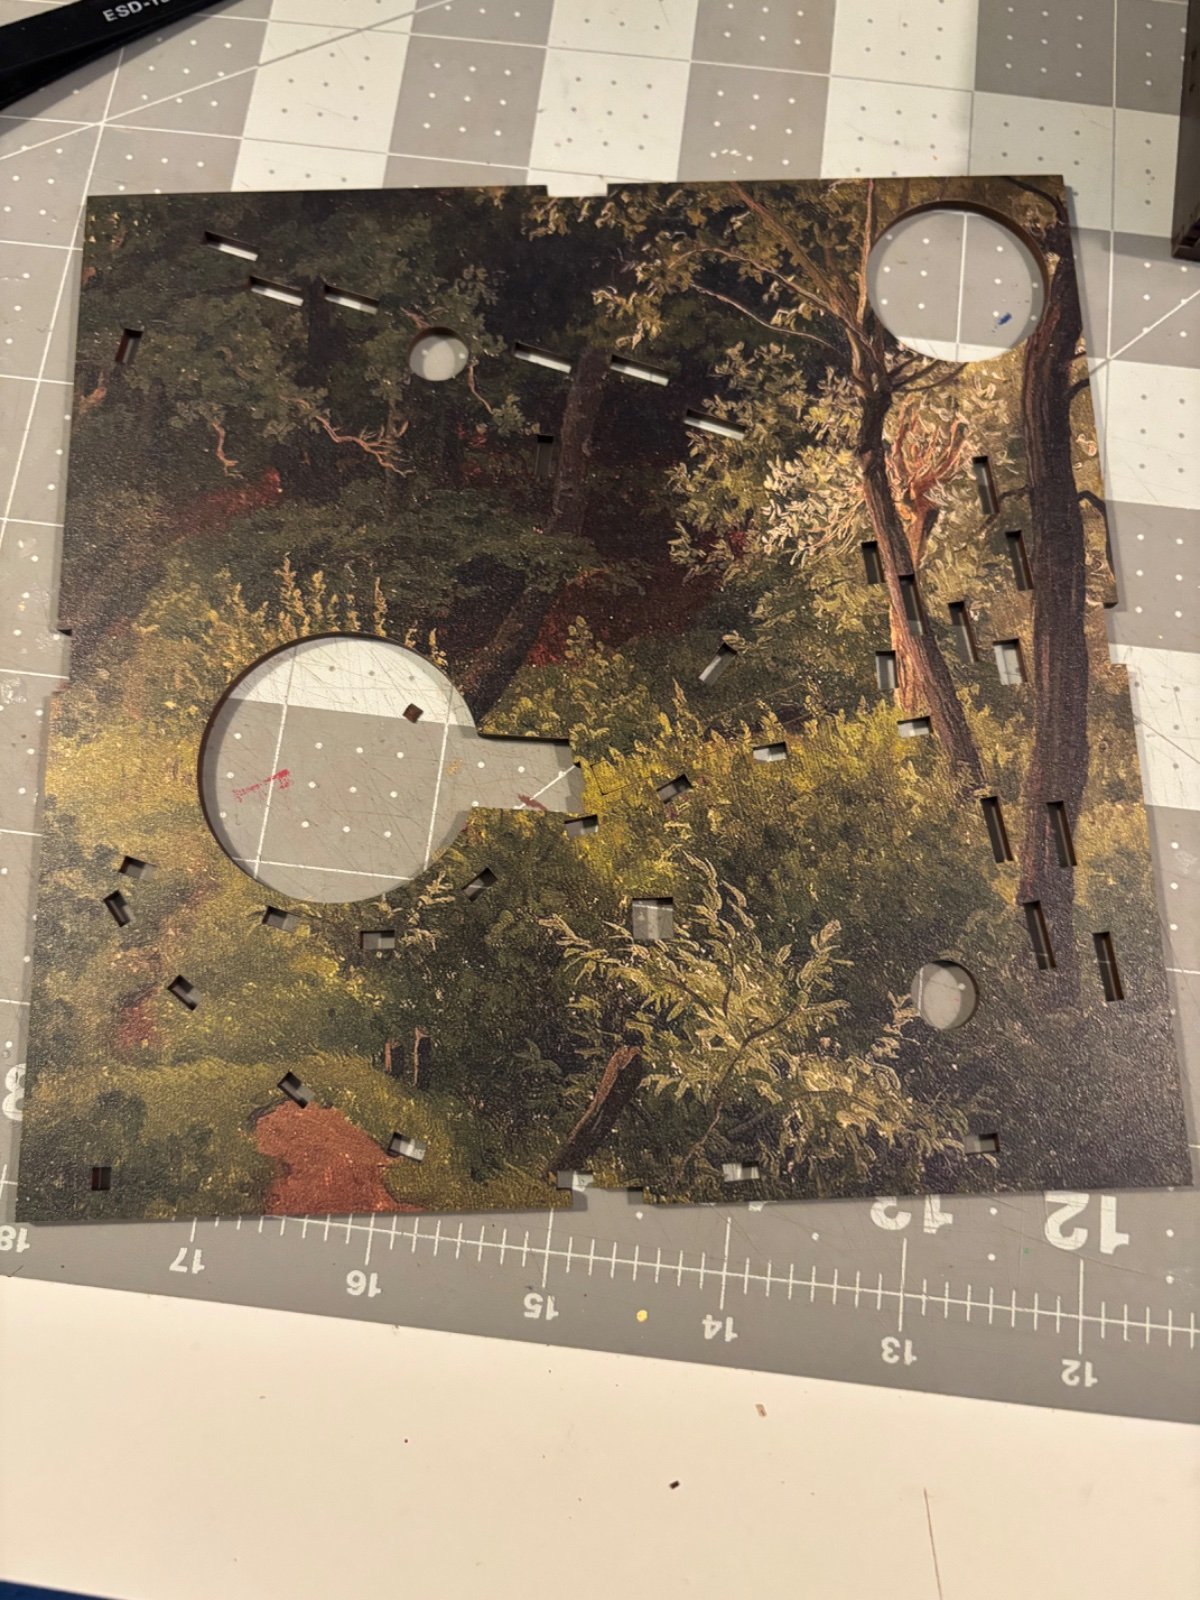
6
The rest of it …🤯4h


Cave with water fall- this is a stack of several parts, don’t glue anything back there until you are sure you have the layout correct. It’s very easy to get the layers misaligned as there are several slots in the base in the same area and they are all the same size. I thought the instructions said to glue all the layers together…nay nay! I had to pry them all apart. Thankfully I use white craft glue that I could actually clean off pretty well.
The damn tree root …after mounting my now vibrant and realistic tree…it did not fit in the base that well. A little later on I realized too late that I superglued it down and the rot was not fitting its slot correctly. I had to cut it off using a Dremel tool. So much for that little design feature.
F$&king touch switch-really ticks me off. This has been confirmed by others, not just me…Anavarin got back to me after I complained and said to slip a small piece of aluminum foil between the switch and the wood. We shall see.
USB plug is basically in the front of the kit, looks like garbage.
Solid cover, at least it is quality. No glue required (like the covers I buy myself).
Overall, I shouldn’t be, but I am really bummed out. I knew it was a long shot, but sure enough Anavarin showed me that the price they are charging is in no way close to the quality of this kit. Ultimately, I am pretty happy with how it looks…if I can ever get the light to work correctly, but I feel a bit taken advantage of by the cost. Beware folks.
General Discussion
Questions or thoughts about the build overall? To comment on a specific step, tap the comment link on that step above.
Sign in to leave a comment.